Showing posts with label Otakon. Show all posts

Tuesday, September 13, 2011

Sissel Wig

I hadn't done an update in a bit, not since quickly recapping Otakon, I figure I can go into detail as to how the wig was made and the process I went into it. This was the first time I ever took on a project as big as this. Most of the wig stuff I've had to do were pretty minor. Even for my costume in this group I only had to trim the wig. But I wanted a group so as long as our Sissel paid for the supplies I would make the wig for him. I'll go into as much detail as I can on the process I went through for this wig.

Supplies
Bristol Paper
Tape
Plaster
Paint
2 Blond Wigs
Wig Heads
Spray Mount
Mod Podge
Wig Combs

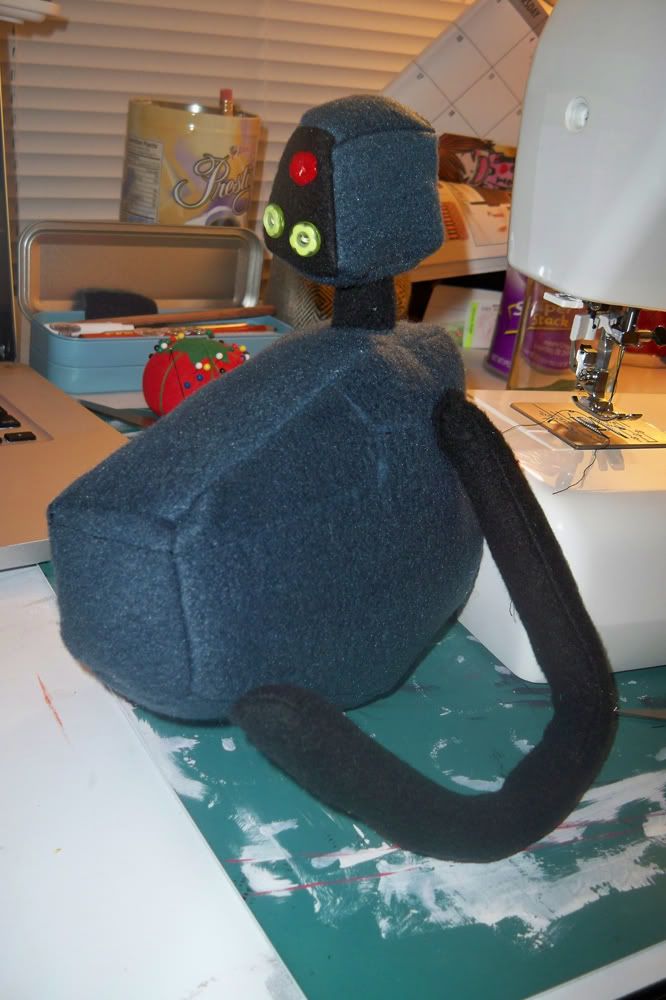
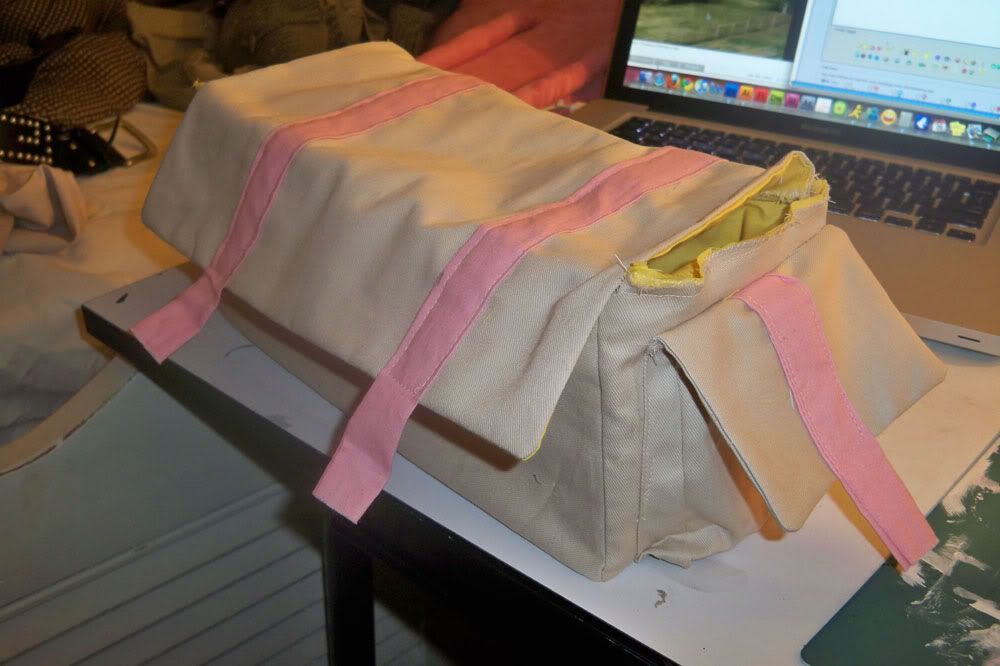
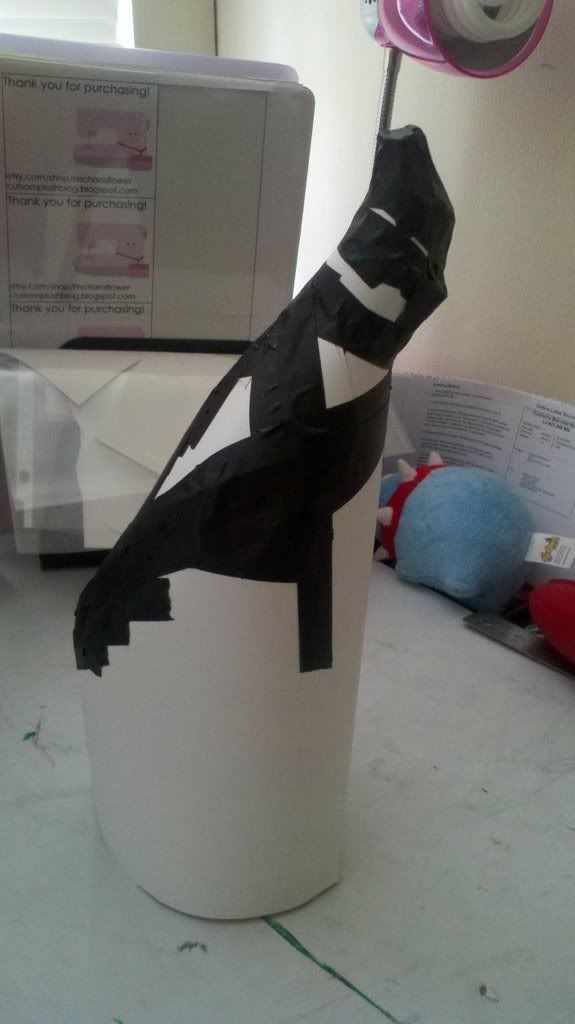
The first step was building the base. The base was the Bristol Paper, which is basically a thicker stock of paper. It's a few pieces tapped together. The bottom part is one piece, and then to get the strange, curled up shape that's several pieces stacked and tapped on top. It's a bit hard to explain, but you basically want to make a cone shape. When you build up as much as you can on the base so you have more for the hair to stick to. The tape is black but we don't have to worry about that, all of that stuff will be covered.

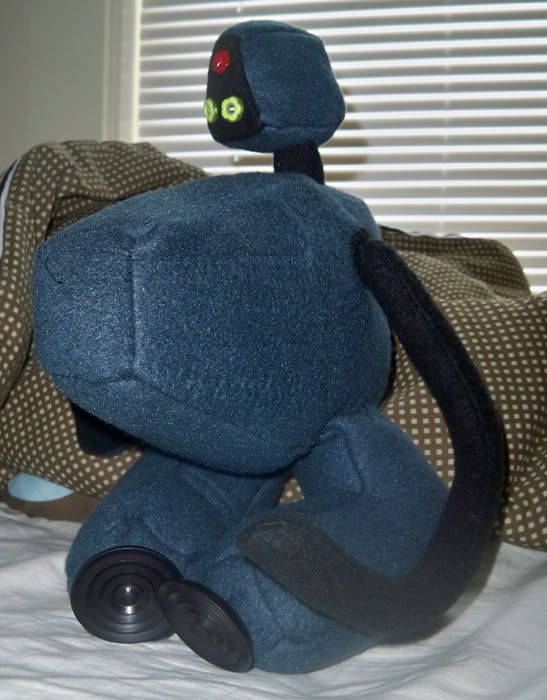
Once I got the shape that I wanted, I took strips of plaster and covered it. You want to be careful not to use too much, because you don't want to make it too heavy, it will be resting on the top of the head. I just wanted it wrapped up so it could cover the tape. You really don't need to worry about sanding it or anything, since it'll be covered.


Once it was plastered, matched a paint to the hair as close as I could and painted it. This is just in case any sort of stray hair opens up and the base is shown. It basically helps everything look nice and consistent. Once the base was dried, I could begin the progress of fitting it to the wig.


When you're fitting the base of the wig to the head, you want to make sure you have a way of securing it. I ended up hot gluing it to the top of the wig, so it would hold there while I could work the hair along the base. This is a bit more complicated to explain, but I'll through the process I went to attach the hair to the base.

First thing I did was take a clump of hair and spray it down with hair spray to make it stiff. Then taking the spray mount, I would spray it onto the base and then press the hair to it. Taking a brush, I would paint the mod podge along the hair to help make it more stiff, as well as stick it to base better. I would repeat this process until the base was completely covered in hair. In the end it looked something like this...

2011-06-22_00-13-46_499.jpg

Not...incredibly nice. But it will look better! This is where the second wig came into play. I harvested the second wig for wefts and attached the wefts in the same way I attached the hair from the wig.

I didn't really do much differently from the last part. The ends of the hair was painted with mod podge to make them stiff, so I could create a hairline for the wig.

2011-07-02_23-42-42_467.jpg

Slowly but surely the wig was starting to look more even, less like a mess of hair around the base.

2011-06-22_23-40-26_119.jpg

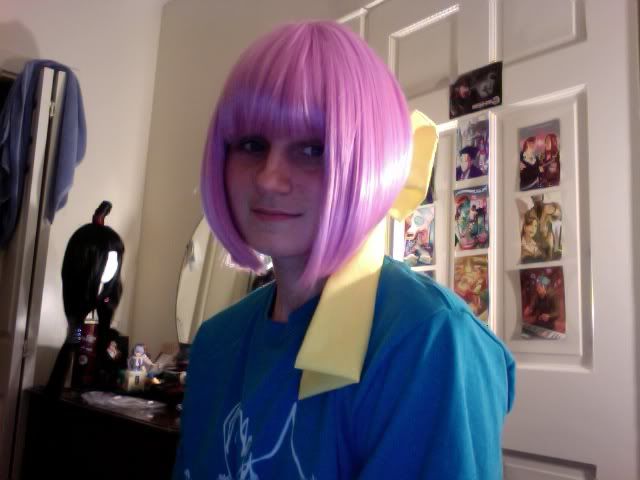
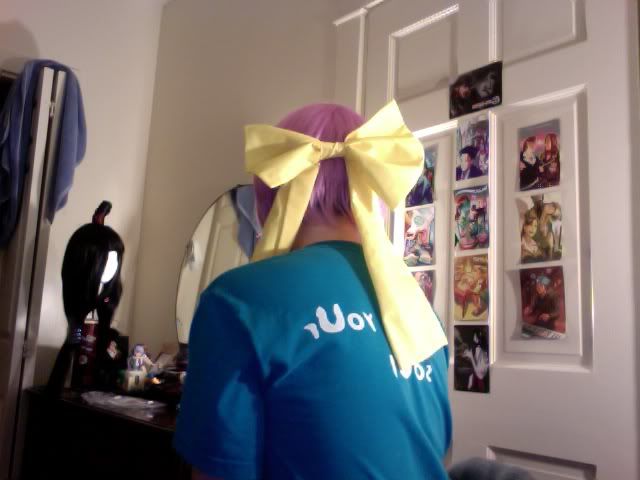
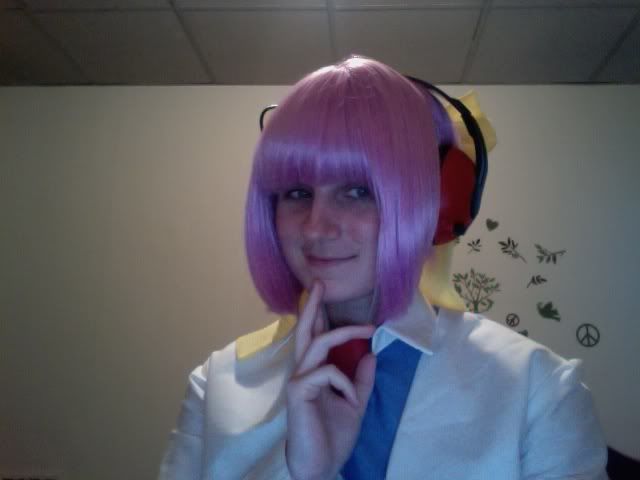
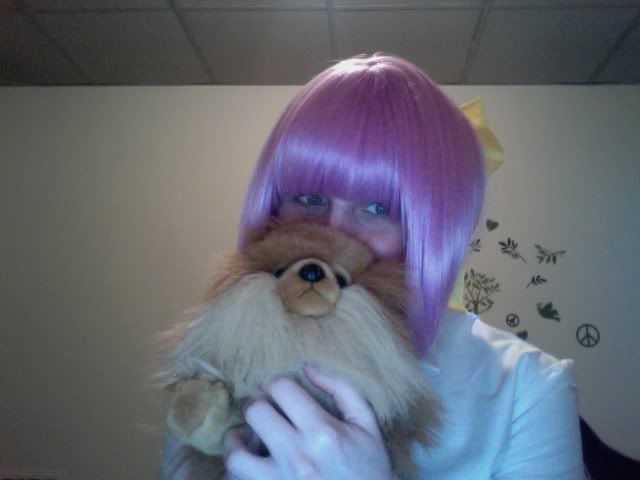
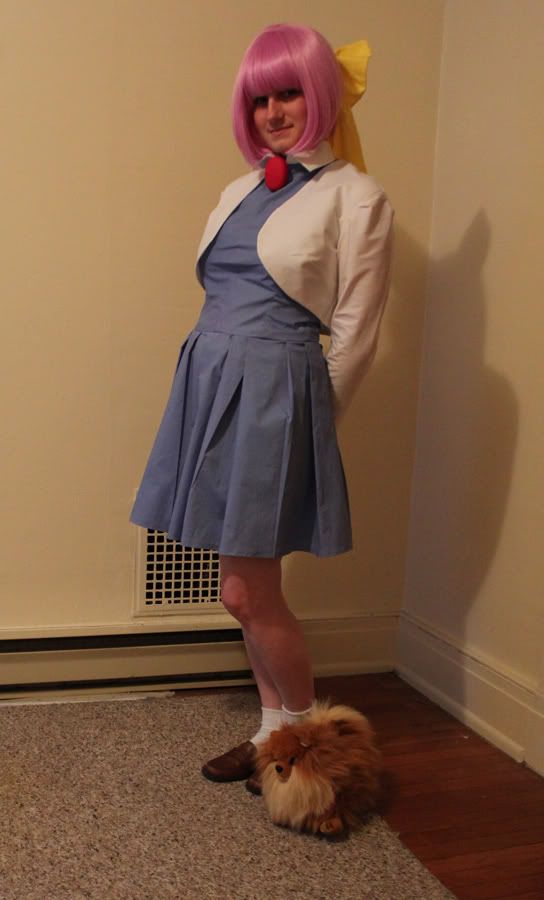
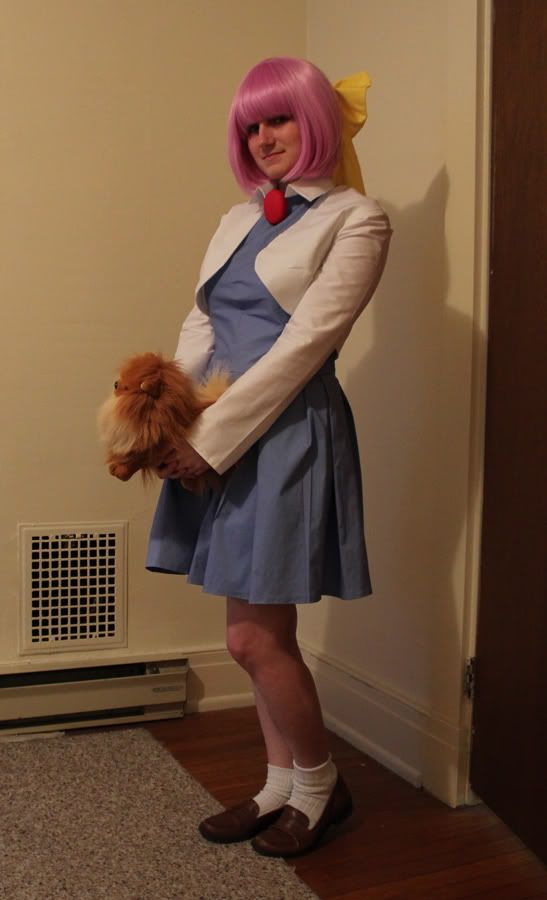
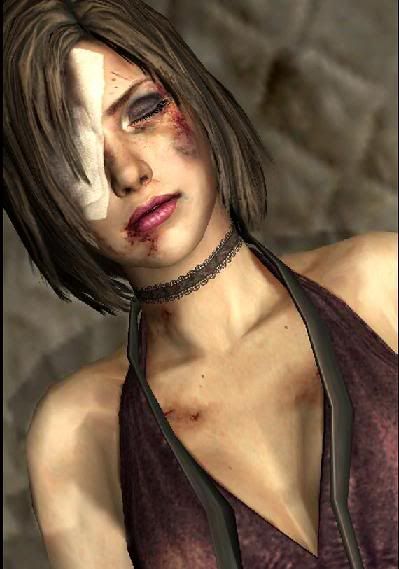
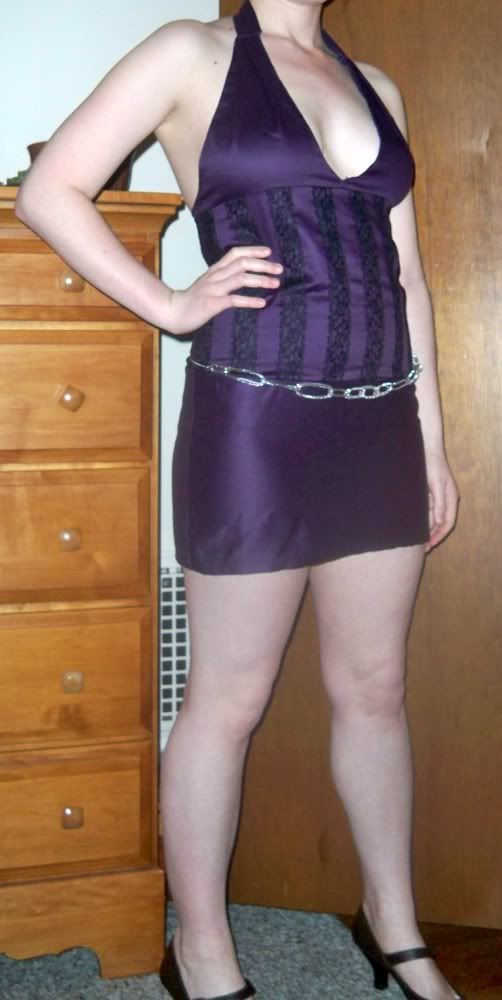
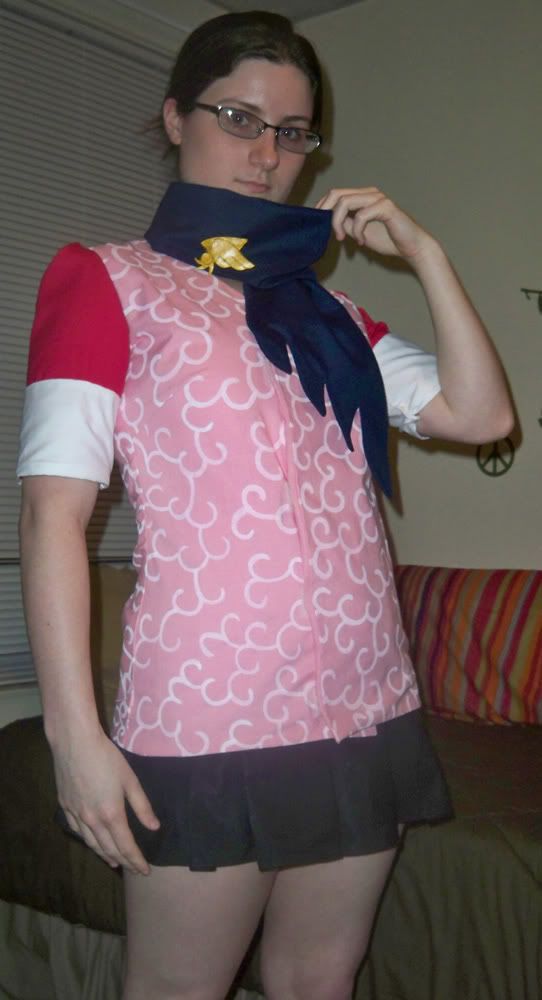
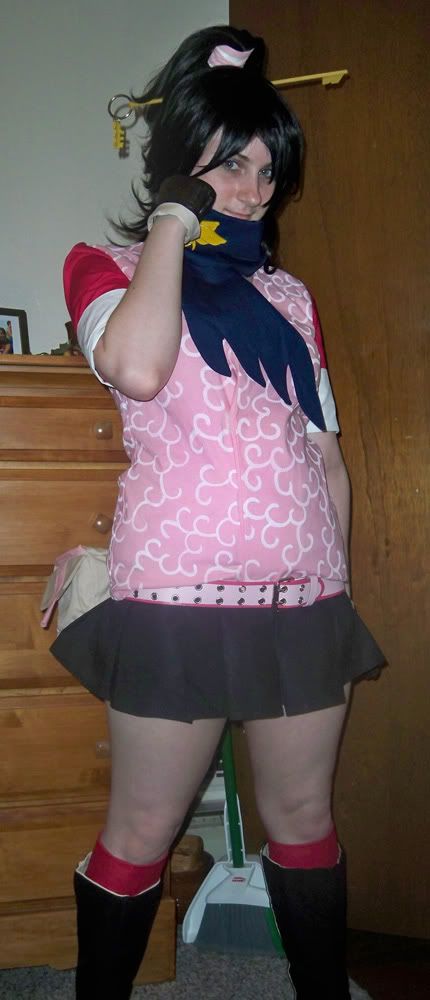
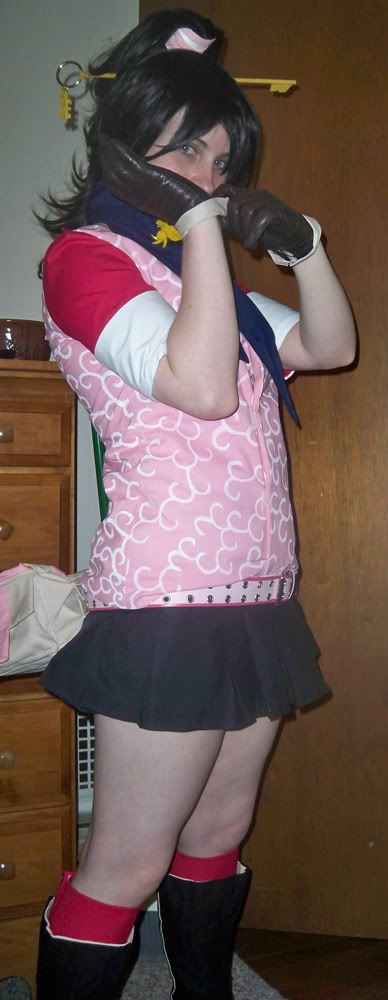
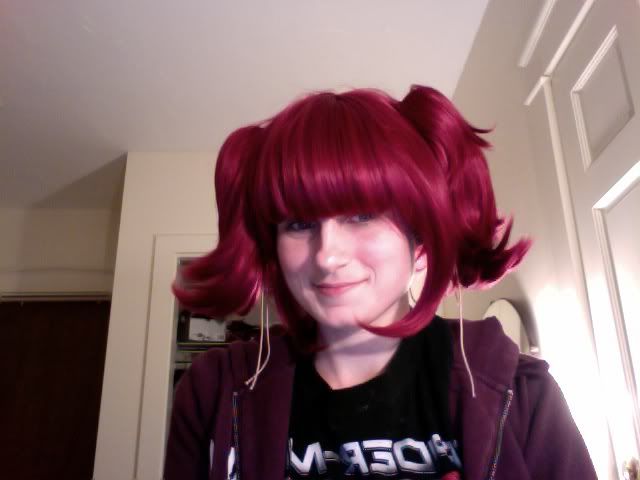
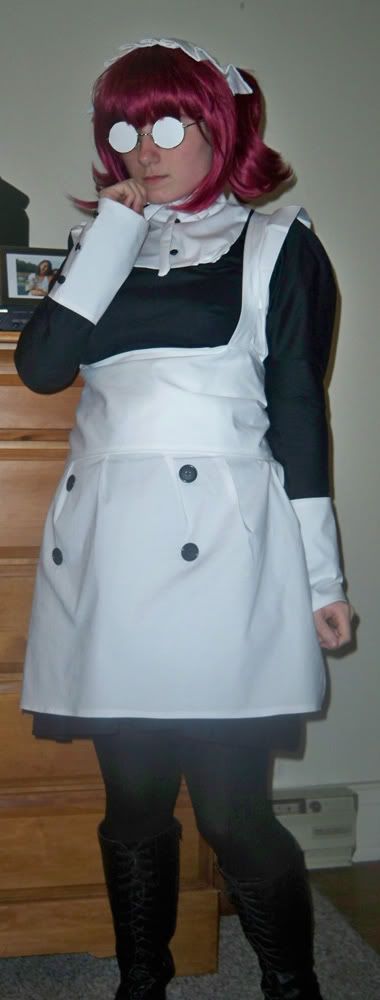
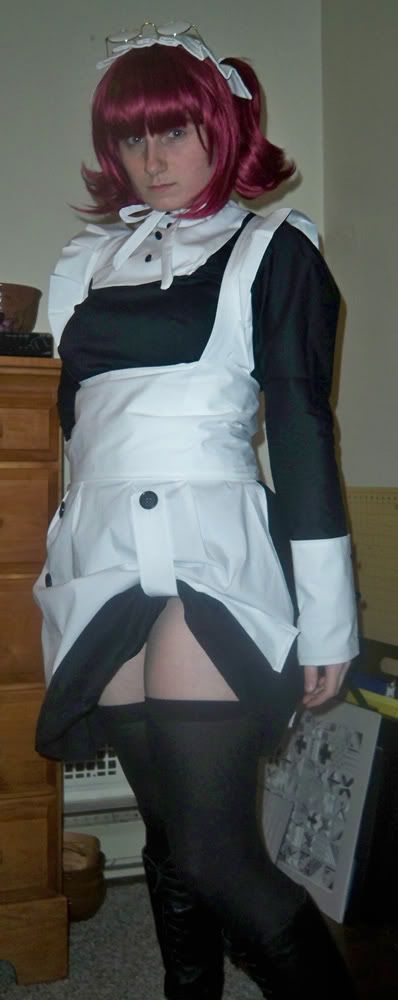
And the final result was this!

Photobucket
Worn by Hayabusa72.

This was probably the biggest wig project ever. It was tough...but I was glad for the experience.

Wednesday, August 24, 2011

Otakon and Post con updates

Wow, so it's been nearly a month since I updated. Normally what I do is write up a quick con report after a convention, but this year things were a bit unsual. I didn't get to go to Otakon for the full weekend like I planned. I had the chance to spend a week in Mexico, so I took that and spent only a day at Otakon. I was happy for the day that I got to spend there, it was so much fun. I can't really write too much about the con itself. Most of my time was spent catching up with my friends.

Otakon was SUPER hot. I mean hotter then any year I've ever been to. Even in the super light costume I was wearing, I felt like death standing outside for the few moments from when I had to go between hotel to con center. I felt bad for anyone in thick or massive costumes, you guys are all champs for making it through. Every year feels like more and more people are going.

My cosplay for the con...I went as Kamila from Ghost Trick.
Photobucket

I had a wonderful, fantastic group with me. Everyone did such a fantastic job on their costumes.
Photobucket

Photobucket
Jowd, Lynne & Sissile.

And of course I'm going to post some of the highlights from Friday that I snapped.
Photobucket

Photobucket

Photobucket

Photobucket

And of course, the rest of my photos are here.

It looks like I'll be making it to AUSA again this year, which I'm excited about. I've got two new cosplays in the works, so I best be working on them.

Thursday, May 5, 2011

Kamila [Finished]

I finished up Kamila from Ghost Trick! Probably one of my easier ones to finish up. Just the dress, bow, jacket and brooch she wears.


The wig I got on ebay from comic-wig and just trimmed up a bit. The bow was from some leftover yellow fabric I had sitting around. The bow part itself has interfacing in it to make it stiff and its just pinned into the wig.


Don't mind Maya's wig in the back haha.

There's a few extra accessories I have for her. Headphones and of course a Missile plushie.


The rest was pretty easy. The jacket part was part of a bolero pattern that I got from a wedding dress pattern. And the dress part was the same pattern from my Red Hood Miku outfit, just without the sleeves. The fabric itself is just a comfortable poplin, both of them really perfect for summer weather. The brooch is just filmo clay and pinned on. And of course the finished costume!


Alright! Almost ready for Otakon. Just need to get the rest of my accessories for Claudia. then of course decide if I feel like making anything else. It might just bring my other stuff to re-wear for Otakon, make it easy.

Tuesday, July 6, 2010

Side Project: MK.ll


So I've been trying to get into bringing some kind of prop to go with my cosplays, mostly because it's easier to pose with if you have one, and it makes things just a bit more interesting. Sadly I tend to struggle with posing, I run out of ideas or can't think of So I decided to make a plushy to go with my Sweet Snake Otacon cosplay. The plush adds a bit more to the cuteness factor of the cosplay, and I'll have something to pose with. This was my first time making a Plushy, so it was quite the adventure. But with some help and advice I was able to get it down pat and I'm very pleased with the results. It was a fun little experiment and now I have a cute prop to go with my costume.

The material is anti-pill fleece. It's really soft, the spare fabric I almost wanted to use as a blanket. The eyes are buttons and the arm has a wire inside to pose and move the arm. The feet have little buttons to represent the wheels but I'm thinking for later versions I might not include them. Those buttons specifically were a bit expensive.

Vers. 1 progress


Vers. 1


Vers. 2 completed

With this one I added a stitching detail to the body, to give it a little more definition and detail.

Eileen Galvin (party dress variant)


I had done Eileen previously for a con, but just her regular daytime outfit. A friend of mine asked me to be her Eileen to her Henry so of course I wanted to. Plus, Silent Hill 4 is probably one of my favorite Silent Hill games, next to 3. So after that, I decided I was going to make her party dress. Normally I make these kind of posts BEFORE a con but because of the nature of the costume and needing help with it, I had to wait till after Otakon until I could finish this up.

This was probably the most reveling costume I had ever made. Which isn't a terrible thing, but just not something I was used to. A lot of side boob action going on. The dress was mostly constructed from patterns I had laying around, the top found and modified. The bodice was a little difficult because I sort of had to construct it on my own, and the fit was off. It was a lot of me trying to fit it and refit it, which is always a little irritating. The fit is still a little loose, but I don't think is too noticeable.

The fun part was getting the makeup to look all beat up. I had never really done that kind of make up before (I'm generally not that experienced in anything more then trying to make my skin look even and decent) so it was a fun little experiment. The make up used is just this cheep Halloween stuff that I found on the internet, and me playing around with it and looking up tutorials. I had a lot of really helpful advice for it to help improve what I have, which was awesome.

For the progress shots I have, the hardest part was trying to bandage myself up. Thankfully for the con I'll have friends to help me do that. It's a little awkward to do everything one handed. Unfortunately I couldn't do the makeup for the numbers written on her back by myself, my arms just don't bend that way. So for Otakon I'll have to have someone do it for me. The makeup is actually fairly easy to do and I have confidence in my friends in getting it done.

For her purse, I really lucked out and found a purse at a vintage store. I covered in the leftover fabric from my dress and I had a prop and something to carry all my stuff in which is even better in this outfit. The worst part? Probably the shoes. My feet were pretty sore after all of that. But the makeup was really surprisingly resilient. It was still on even after the heat and walking around. What was a bit funny though was walking into a bathroom and having a woman stare at me. Well probably not too funny, she probably thought I was actually hurt. But thankfully the make up washed off pretty easily, except for the stuff on my back I couldn't reach. Had to wait until that faded off.

Progress
Dress


Makeup Test


Finished


Wednesday, June 9, 2010

Kay Faraday


The Ace Attorney series has always been one of my favorite game series. The assistance were always some of my favorite characters. So of course after Investigations came out I had to cosplay Kay. Despite it being rather a simple costume, there's a lot of little details on it that add up to the level of complication. Like the tabi boots. You know how hard it is to find a pair of tabi boots? This costume had a mild bit of shipping drama with some of the items.

The easiest parts were making the skirt and the actual shirt part. The skirt was just a basic pleated skirt, the marital the same as my Magnet Miku costume. It's always nice having left over material less money spent on stuff later on. The top was a modified shirt pattern. Basically I just cut down the center and extended it a bit to create the awkward vest look and the pattern on top was painted on with fabric paint. The gloves were bought then modified, adding the trim on the bottom, though it makes it more difficult to actually put on the gloves, once I'm wearing them it's alright, the added lace took away the stretch at the wrist.

The belt was a modified belt I found on ebay. Love ebay, I think I get the majority of my cosplay finds from there. Got my wig from there as well as well as the clip that attaches to it. The boots were bought off ebay as well. You wouldn't believe how hard it is to find tabi boots for a cheep price. It's almost always pricey for specalty boots. The pink parts are actually just little covers, rather then worrying about making whole tabi socks, it was just cheeper (with matrial I had left over) to make little covers that just look like socks (there was Velcro in the back to attach and detach it). The gloves were also bought off ebay and modified as well.

Her pin and key I had to make myself. The pin was made from sculpy, baked then painted. A pretty simple process. I will admit though I'm not really an expert with sculpting or anything like that. I just had to do my best and work with the tools I had.

The scarf was done from my own pattern. It was sad how badly the first version turned out. The second I took much more time for and it turned out perfectly. Just shows it pays off to actually take your time and make sure you do things correctly rather then quickly try and get it done.

The bag was an odd part, it was a rectangle shape, I needed to sort of keep that. And I've really never made a bag before. The material is the same as my Otacon jacket, the pink parts being left over from my shirt. I wanted it to be actually functional, so I lined it with yellow fabric. The shape is kept with a rectangle made from Bristol board. It's functional for what I need it to, and I'll be able to keep my stuff in it for the con. It attached to my belt and is worn from behind.

Progress
Scarf + Pin


Pin


Pattern


Shirt, Scarf & Skirt


Finished

Tuesday, June 8, 2010

Otacon: Sweet Snake Figuremate


This is just about the easiest thing I ever had to make. I chose this costume because I adore Metal Gear Solid and I love these little figurines like no other. They're just too adorable. This was made basically because I wanted something easy to wear. This post won't be nearly as long or impressive because it was a rather small, easy costume to make.

I decided to use my own hair for this, worked at with a curling iron. Not a terribly difficult process, I just needed to do a few tests to see what I liked. My hair is a bit longer then what I'd like for this sadly, by the time a con rolls around I'll have it trimmed, but the style is about right. I decided to use my own glasses for it.

Then it came down to buying vs. making the outfit. In the end I ended up doing both. The shirt is bought and dyed to the color I needed it to be and the jacket was made. Finding the style I needed was difficult and more expensive, it ended up being cheaper just to make it.

Progress
Hair


Jacket + Shirt


Finished

Saturday, March 27, 2010

Maylene

(I'm actually making the manga verson rather then the anime, so the color choices are different)

So to start this off I'll have quite a bit of progress to post with Maylene, since I got a lot done before I even made this blog. I'll just go through most of my progress shots and show the progression of the costume, of what I have up until this point.

This costume was the first one I had to basically Frankenstein the patterns for. All of it is from previous patterns and were modified for this costume, which made it hell to figure out. I really should do something with practice before hand, before I cut into the fabric, but I really just didn't have the extra to do that. So it's always sort of measure and cut for me. Though that made this process a bit hellish unfortunately, making me have to go in and fix up previous mistakes over and over again. Sadly this was all made before I had some kind of body form to fit this to, so every time I did something, I had to stop, try it on and the fix whatever mistake I made.

Usually I don't get into buying wigs until much later, but the wig was something that came and went. So I snatched it up before I even decided I was going to cosplay her or not. And god does the wig feel amazing. I left the strings for the pigtails there, lovely.

Before I had a chance to buy the fabric I ended up making the headdress out of leftover fabric I had laying around. Not really a major accomplishment of any kind, the headdress was easy enough to make. A lot of little stuff like this I never really make patterns out, I just sort of go with the flow and see what happens with it.

After I went out and got the fabric, I started doing the patterning. And god I thought that it would be an amazing ia to just Frankenstein without really putting the amount of thought into it that I needed to. Needed more measurements, needed more testing without wasting my good fabric. My first attempt at the sleeve seemed alright. From the terrible cellphone photo you can see it seems alright. But really it was rather terrible looking. It didn't sit right at all, it was way too big, etc, etc. So I ended up scrapping it and remaking the sleeve entirely. From there, it was touch and go. Really I'm not completely satisfied with it. There are parts I really want to fix and remake entirely, though I'm kind of at the point where I don't even want to touch the costume anymore.

The best part of the whole costume was the apron. Honestly I'm starting to love making aprons. This is probably my second or third one? Something about maids I swear...but the apron was so easy to make and feels rather lovely.

Both the shoes and glasses were found items, the shoes from Forever21 and the glasses from a local vintage store. You'd be surprised how hard it is to find large round glasses. I lucked out with these and popped out the lenses. The white part is just Bristol paper that I can just pop out and remove.

I think the last thing I'd really want for this costume is a prop. Most of my costumes don't have a prop, but when the switch happens I think a prop would really help. Though I can't find anywhere that sells a toy rifle. And I really don't have the prop skills in making one. Oh well, I'll probably have to pose without it.

Progress
Apron


Dress


Dress + Apron


Finished

Intro & Otakon 2010

First post, this will basically be a short introduction. I've been cosplaying for two years now (not exactly an expert or anything, but each costume gets better and better). I've met a lot of awesome people through cosplay and I hope to meet many more! Basically this blog will be used for anything cosplay related; from con plans to progress shots of costumes I'm working on. So I hope you enjoy!

The next con I plan to go to is Otakon 2010.


From left to right: Kay Faraday (Ace Attorney Investigations), Maylene (Kuroshitsuji), Eileen Galvin (Silent Hill 4), Otacon (Metal Gear Solid 4: Sweet Snake Figure-mate variant)

Four brand new costumes, oh my god. Probably the most I've made for a con. But I tend to start really early and I have just a bit of progress for each one. Stay tuned and I'll post some progress!