Sunday, March 3, 2013

Costume Breakdown: God Tier Jade


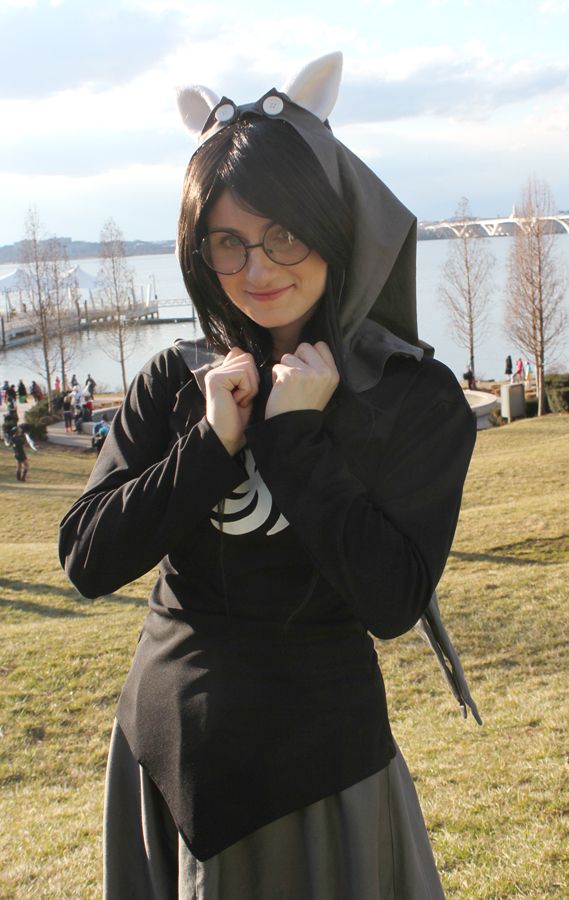
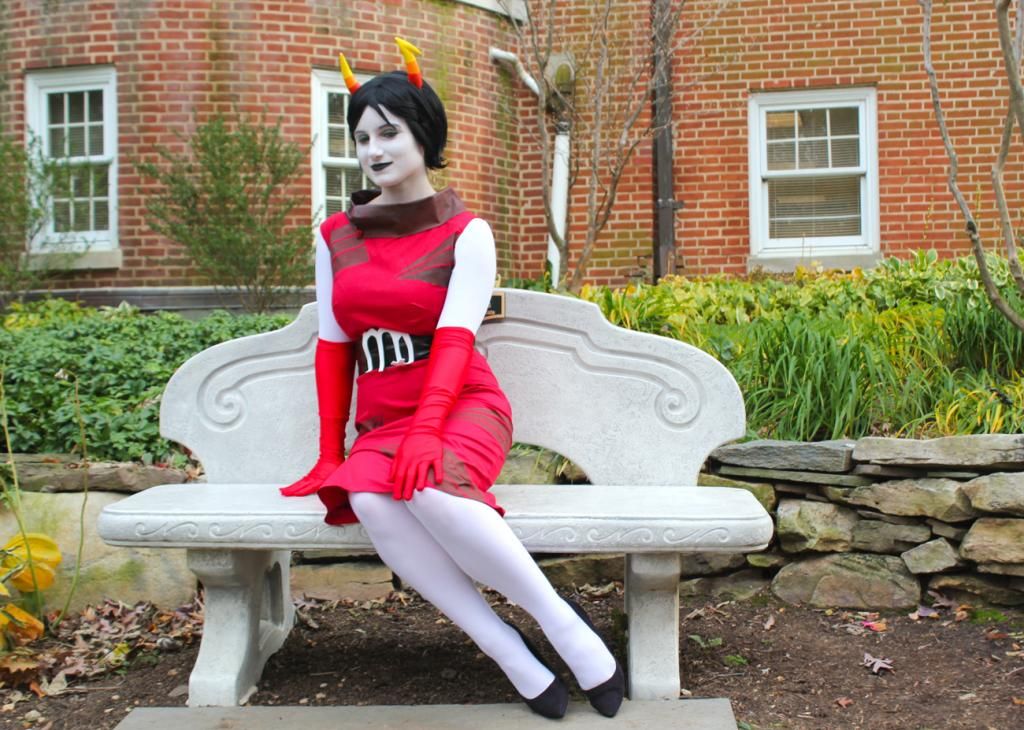
This costume is fairly simple to make, I wanted something that would be easy to wear. I really liked the Witch of Space design so I decided to make it!

 I’m going to go into the fabric choices. I don’t always go into that, but I felt like I should here. The skirt was made out of a grey sateen. What’s nice about sateen is that is has a good weight to it, without the glaring shine that a satin might have. The top was a stretch knit, because I wanted the top to be like a tunic, that I could just easily pull over my head. The hood is made out of the same material as the skirt.

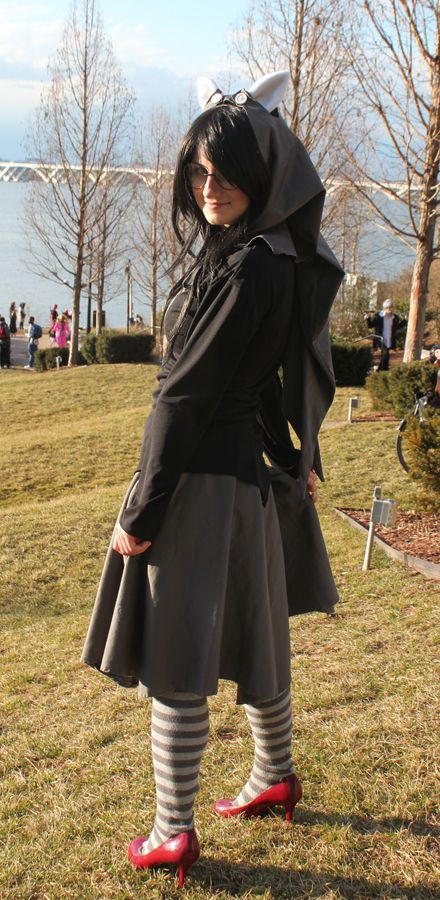
The skirt is a basic circle skirt. The circle skirt has the basic shape and fullness that I wanted for it. The tunic part was highly modified based off of a shirt pattern. I didn’t have a pattern on hand that was perfect, so I went with something similar. I used Simplicity 8523 with the scoop neck. I made sure to adjust the pattern so I hand the points on the front and back like she does in the design. The sleeves were from another pattern that I had laying around that I just added to the tunic.

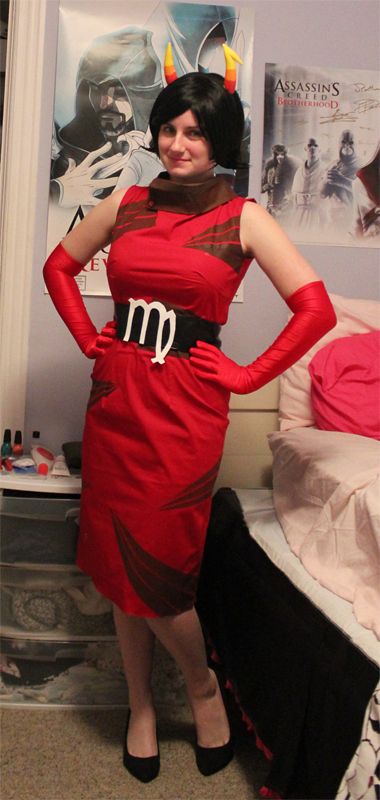
The Space pattern I found a vector and then created a stencil. Your best bet of painting this sort of thing onto fabric is to use the freezer paper method, in this case I didn’t have any on me, so I just free handed it. I wouldn’t recommend free handing it if you’re not confident in your painting skills.


The hood wasn’t too hard to figure out, I needed to modify and adjust for the twin tail hood that she has. I created this basic pattern for what I did.

The hood is super easy to make once the pattern is figured out, hopefully this will help anyone else working on it.

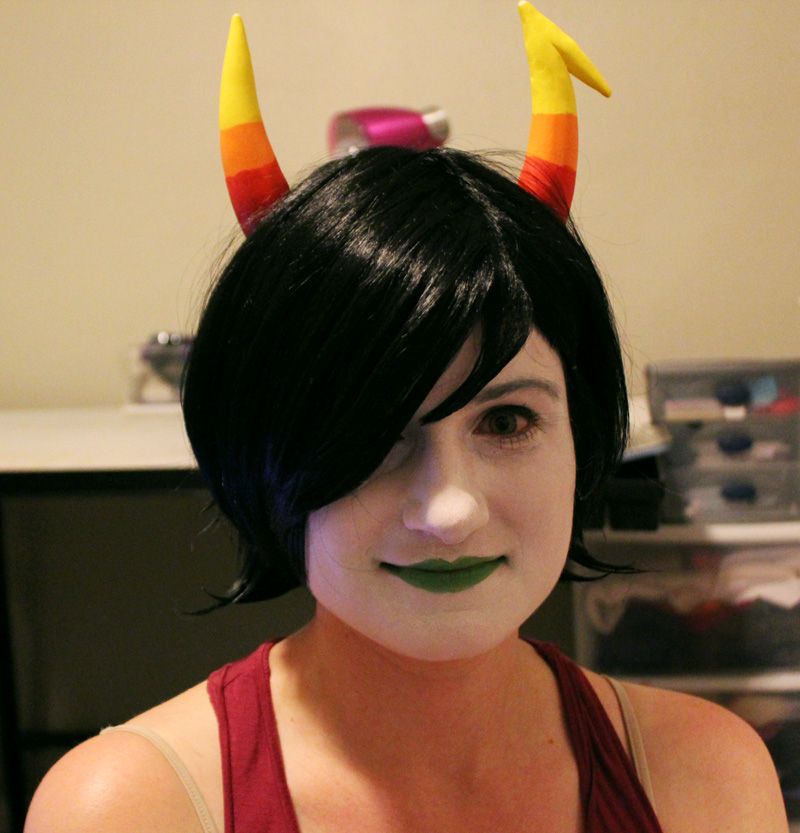
The ears were not made by me, sadly I had made a pair for myself based off of this tutorial, but I lost one of the ears. So the day of the con I first wore them, I bought a pair of ears made from fleece. I do not remember the booth I bought them off of, if anyone recognizes them I will gladly give them credit. But from what it looks like, it looks like fleece on a headband. I put the headband on and the hood over top so it hides the band.

The socks were purchased from sockdreams and they’re two long thigh high socks. My only real issue on them was that they were really baggy around my feet and calves, but tight around my thighs. I pretty much needed to yank them up every so often while I was walking, even after I adjusted them. They’re a knit material so that might take into an account for how they fit. But the color and stripes are perfect for the grey on grey striped detail she has going on.


Friday, March 1, 2013

Costume Breakdown: Kanaya Maryam


Homestuck wasn’t something I thought I’d get into as much as I have. It was one of those series that was super popular but I never really got, until I sat down and gave the whole thing a read, and I pretty much got hooked from there. Kanaya is my favorite troll out of the bunch; I wanted the chance to make some of her fantastic outfits. The first on that list being the red dress she wears.

I’ll start this off by first saying I didn’t make the horns. I bought them from the lovely lambentworld. She does amazing crafting work, you should check out her page.

The dress itself is slightly modified from its original design. From the way that its drawn, the collar looks similar to a mandarin collar. But the dress pattern I wanted to use was based off of a vintage style dress with a larger collar. I took a bit of artistic liberties and went with that instead. I generally try and stick closer to the source material rather then embellishing, but I loved the pattern so much I stuck with that.

The pattern I used was newlook 0110 . I thought it suited the style that she would go for, and how the dress seems in the series. The stripped type pattern she has was painted on. I made sure to draw the design on first, mask it off with painters tape and then used Tulip Fabric Paint to paint on the design. It’s not a difficult process just tedious. You need to make sure you paint in layers, and wait for the paint to dry before moving on. But it created a really nice result and I was happy with it. I used the same process on the collar, cutting fabric out of the same red then painting over it, so I could get it to match the stripped color.
The dress with all accessories but makeup and tights.
The belt was reused from an old waist belt I had sitting around. The logo on it is just craft foam. Though I would probably seal and find a way to make sure it won’t just easily crumple. It stayed on, but when I was sitting/moving my body would constantly bump against it.

I decided rather then paint my arms I made myself some quick armsocks. There’s a lot of really wonderful tutorials out there on how to make them, mine are a little more simple, because I was wearing gloves already, I didn’t need to make finger holes in mine. I took a pair of tights, matching the ones I used on my legs, and attached each leg on an arm hole, doing a quick stitch to keep them in place on the sleeves. Then cut off the ends so I could pull my arms through. Super simple and it was one last thing I had to worry about painting.

My face with painted with Ben Nye White face paint. Again, there’s a ton of tutorials out there how to do it, but I’ll go over my own process. Since I was going for her as a rainbow drinker I needed a very white, clean face. Getting that shade of white with just the Ben Nye is a little difficult. The facepaint has a habit of being a bit translucent, so you need to paint it in layers.

Makeup test
 My first step is to prime my face like I normally would with regular makeup, moisturizer and then primer to keep my face looking smooth and to hold the makeup better. I take a makeup sponge and rub the first layer on my face. From there I just keep building up. You don’t want to just rub the makeup on your face once you start getting the layers on, other wise you’re just pushing it around/off your face. After a while you’re going to want to work a patting technique, so it smooth’s how the makeup looks on your face. When I was applying the white paint I made sure to put it anywhere that might show; my neck, under my jaw and the back of my neck. After applying the paint, I use the Ben Nye White Powder. The powder helps set the makeup and keeps your face from looking shiny. I went with white instead of translucent because it gives a stark white look. The translucent works better when you have different colors on your face, but I want a super white look. It also can help even out any makeup that might look a bit smudged. After adding the powder I add on any little details I want, stuff like eyeliner, eye shadow, contorting and lipstick. For this instead of actual black lipstick I just used black eyeliner for my lips. Adding the little details helps make your features stand out against all the white on my face. After putting on the paint, you'll need to highlight your eyebrows as well. I just took a eyeliner pencil and filled them in over the makeup.

And that’s pretty much it! Everything I did to actually make the costume. The shoes were a pair I already owned. The stockings for the armsocks and my tights were bought from sockdreams. The gloves were also purchased on a ebay.

Finished Costume!