Monday, September 3, 2012

Costume Breakdown: Female Protagionist

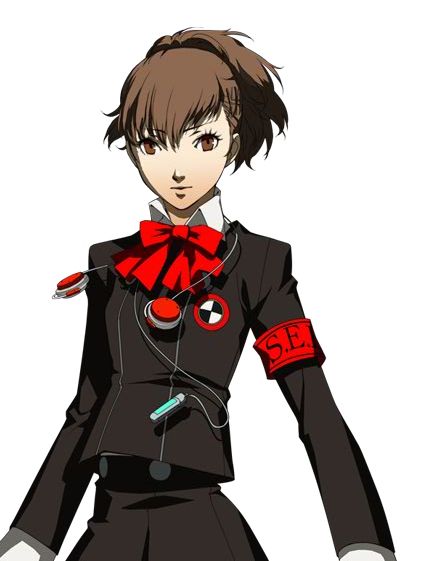
I'm a big fan of the Shin Megami Tensei series and wanted to cosplay it with my friends. So we had a small group for Persona 3, since we had all played it and liked it. This was actually my first SMT costume, before Hua Po, worn and made a few months a head of time.
Photobucket 

The outfit seems pretty basic. It's just a uniform shirt, skirt and blouse right? For fabric I chose a basic twill. I ended up having a good amount laying around, it wasn't extremely lightweight, but it worked well and had the right look for a uniform. The skirt wasn't really an issue. The skirt itself was just a basic box pleated skirt. For a pattern I used Butterick 5285 and adjusted the length to what I needed.

The jacket was a challenge in itself. It was a somewhat odd shape, it didn't have the normal lapels like a normal jacket would, it had this odd box shape around the top. So I ended up taking a normal shirt pattern (simplicity 8523) and modified it from there. There was a lot of modification from that and this is what I ended up with.
Photobucket 
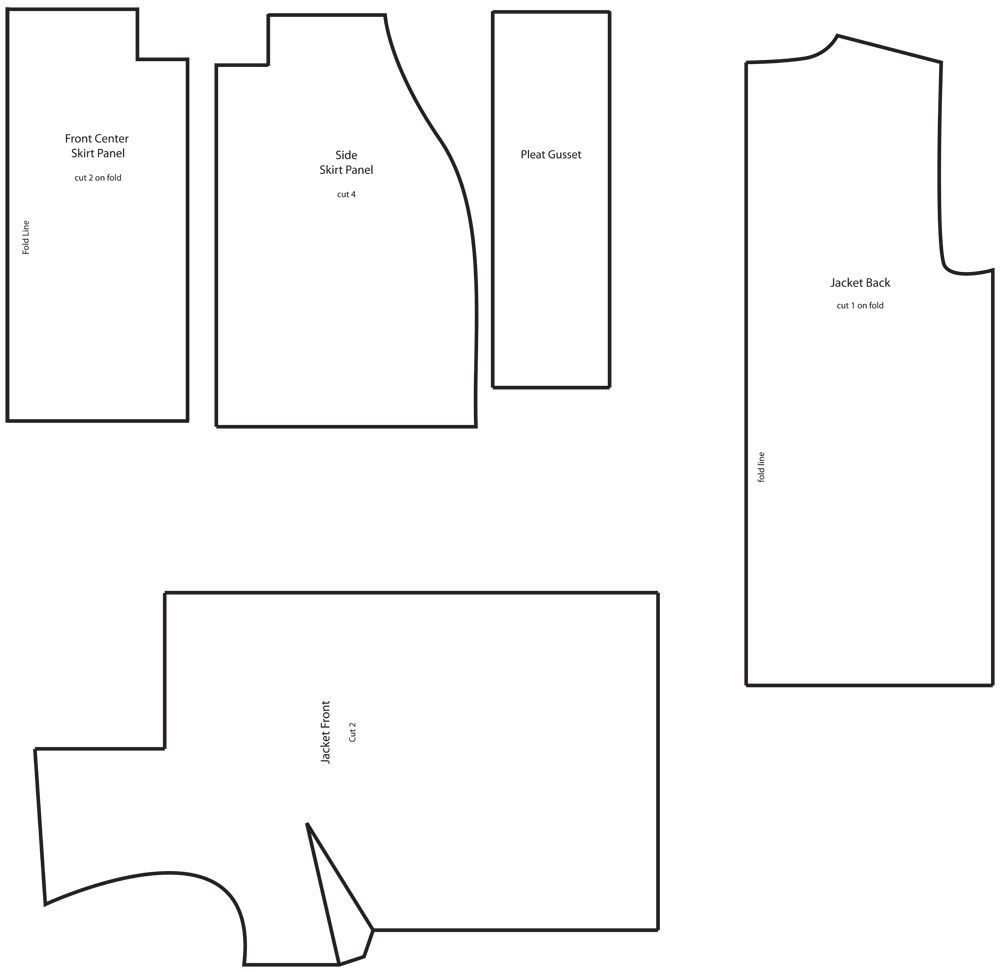
Here's a basic pattern for the jacket and skirt. The jacket ended up being a bit large, as in not fitted after I drafted it and put it on.
Photobucket 

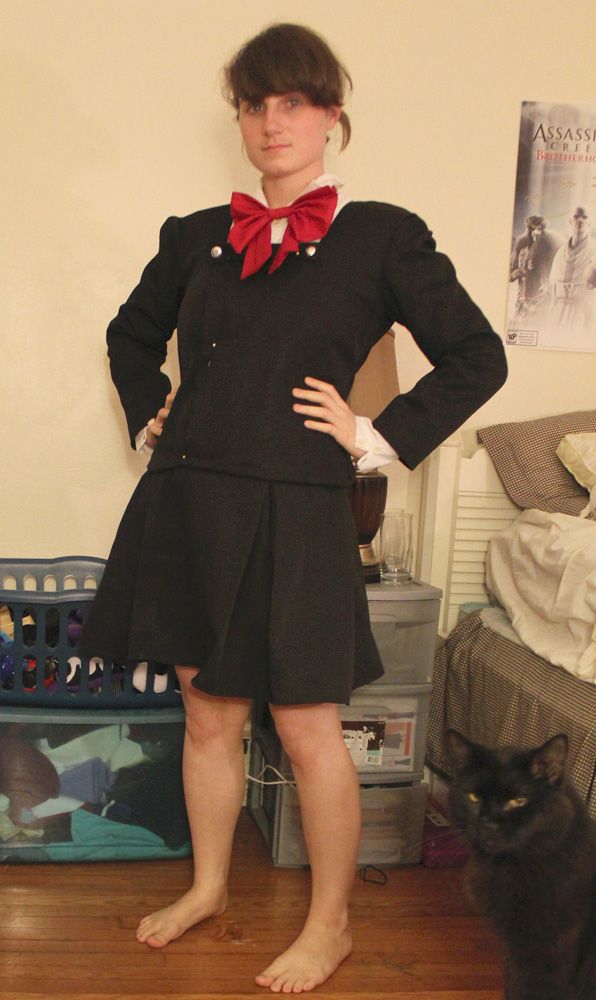
As you can see the jacket is pretty large and a bit too long from the initial pattern. I needed to take it in a bit more and adjust it so the fit and proportions were right.
Photobucket 

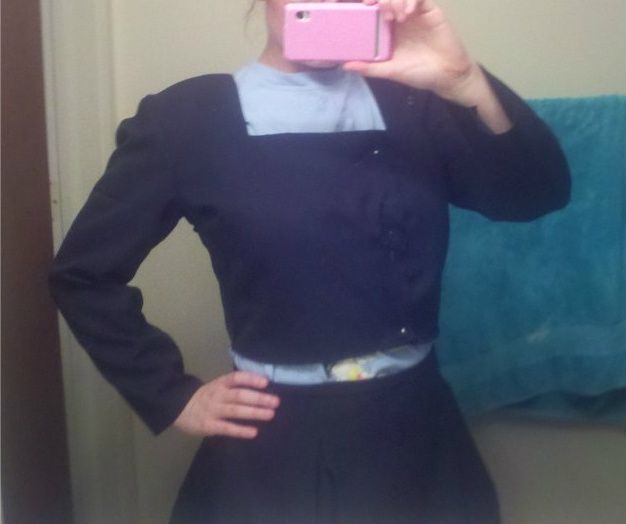
With the fitting, everything looked much better, and wasn't so odd and baggy. You can see a bit of a top panel, with some studs in place, that was just sew into place on the longer flap, so they don't really move or adjust. To keep the jacket closed, I added in a zipper. I wouldn't recommend doing it like I did...I ended up getting an invisible zipper and sewing it in so that the end was at the top of the jacket, so I need to pull the jacket over my head. I would not recommend doing that, it makes things just a bit more difficult.

The two lines on the jacket are just bias tape. The one is just sew on the right hand side, while the left one is sew as close as I could get it to the zipper, so it wasn't noticeable there was a zipper there.
Photobucket 

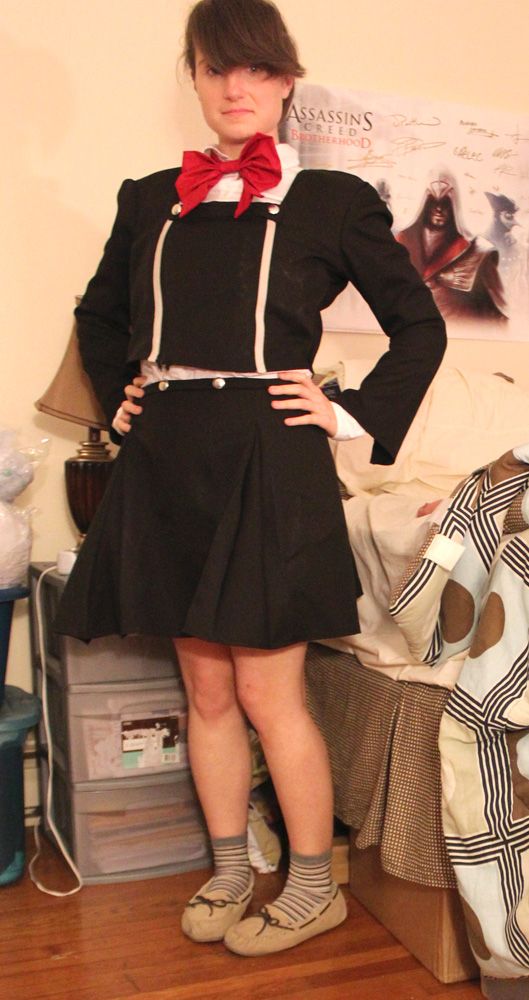
The bow was just made and then a strap was added around my neck. And the blouse was just one that I had laying around. While I wouldn't recommend this for everyone, I used my own hair for this cosplay. I figured I could get it good enough to pass. This is the best I can explain how I did my hair. I pulled my hair back into a low ponytail, twisted and pulled it up, clipping it to my head with a claw clip. The hair that hung out, I teased and pooffed out a bit so it had a bit more volume. The banged were styled with a bit of product and hairspray.

The patch, and the armband were pre-bought, and the envoker was made by a friend!
Photobucket 
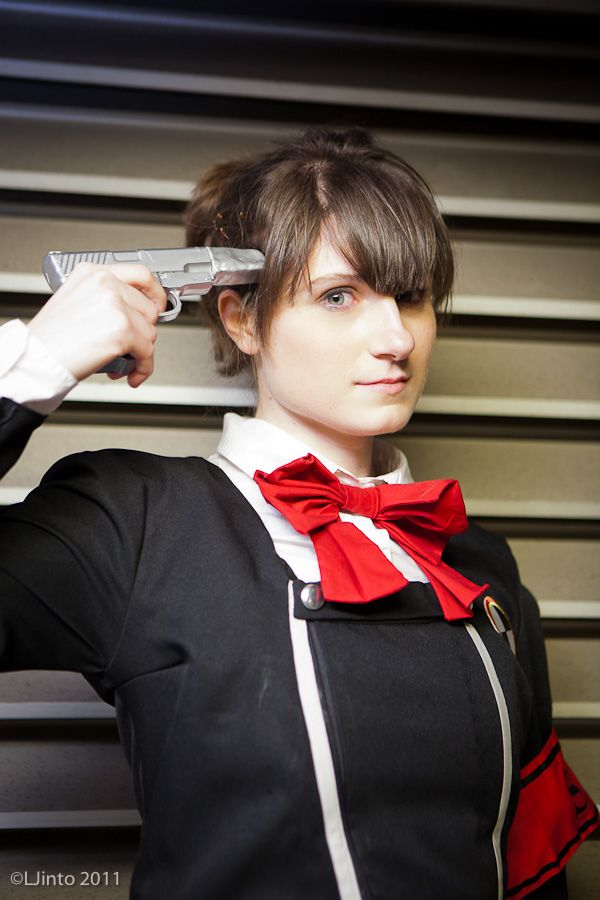
Here's a good shot, how my hair was styled. 
Photobucket
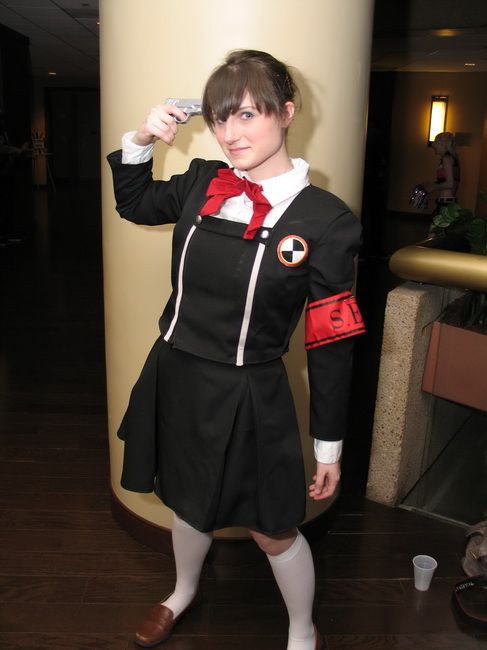
And a nice full body shot of my costume. The socks were bought from sockdreams!

Sunday, September 2, 2012

Costume Breakdown: Fuu Hououji

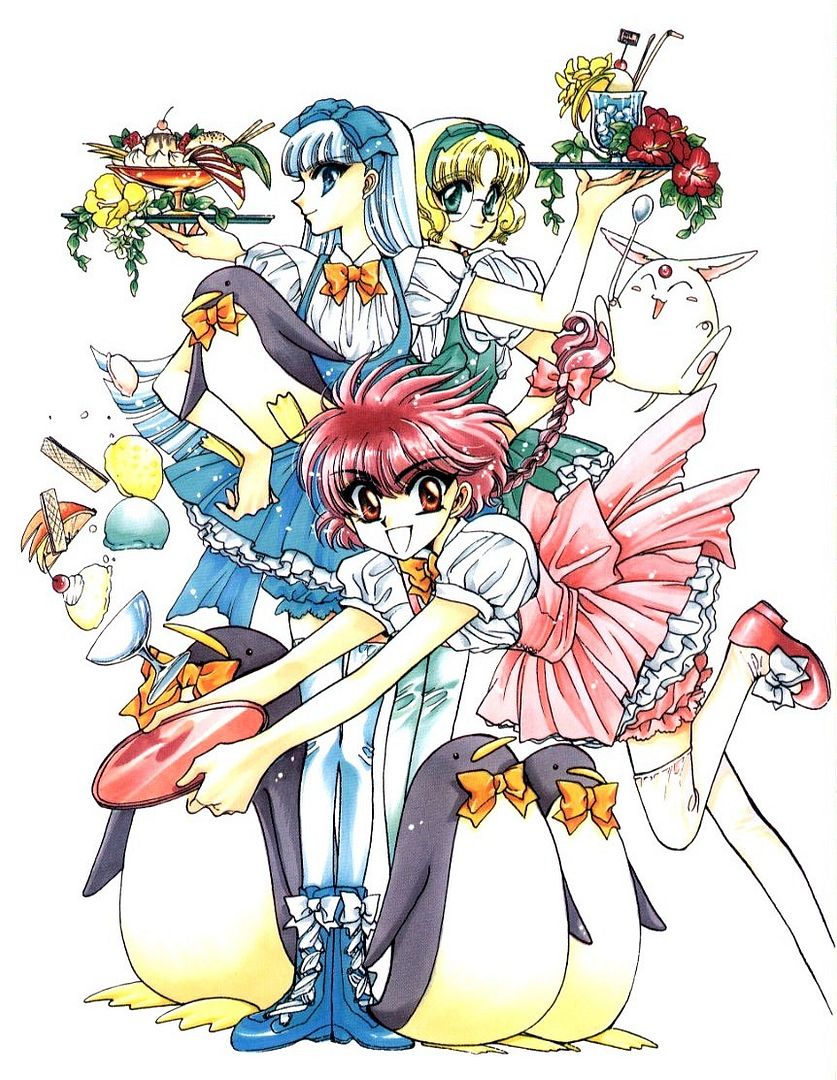
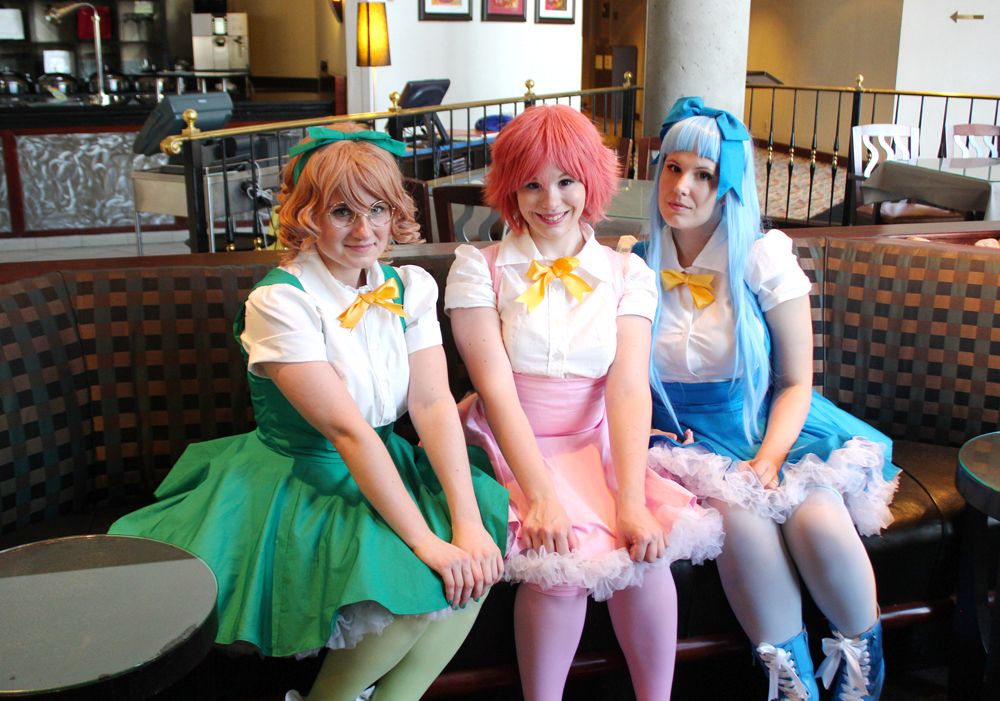
It's been a while since I updated. And I'm a bit late in posting about Otakon, so I might not even make a post about that. Instead I'll just talk about some of the costumes I wore for Otakon this year. This Otakon was a rather simple costume year for me, I didn't really go all out and make something extreme, though most of my costumes have an element of simplicity to them. But with this year my friends and I decided to do a Magic Knight Rayearth group. But rather then do the default outfits, we decided to make something from one of the artbooks.

Photobucket 
I had wanted to cosplay Fuu for a long time now, and I just love making maid costumes, so it was a win/win situation.

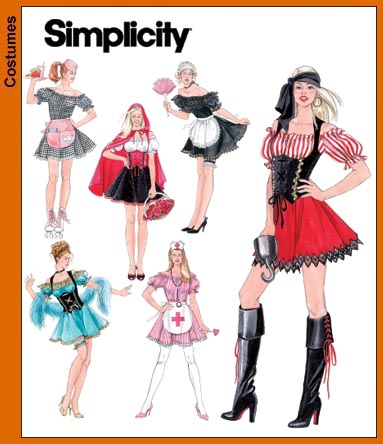
We all needed matching outfits, so we all decided on a cotton sateen, so it was a bit nicer but without a shine. We also made sure to match patterns. We decided on Simplicity 3618, since it had a lot of what we needed in one pattern.


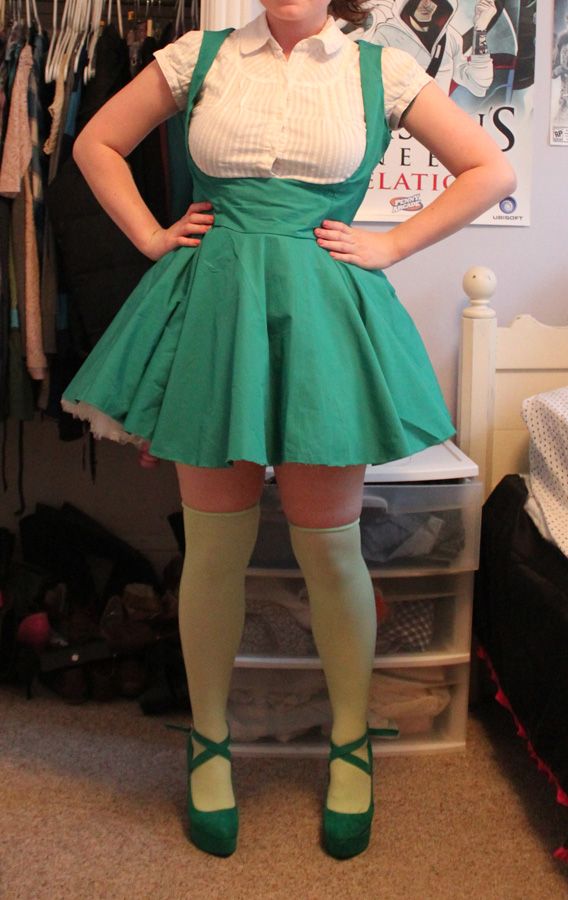
For reference we went off of the pirate costume. We used the skirt, vest and the included bloomer pattern for our costume. The vest and skirt was modified, so that they were attached and one piece rather then separates, which was a really easy adjustment. The skirt itself is just a basic circle skirt pattern, I have about 2 and half panels on mine. I also added a nice fluffy peti to make it poof out a bit more. There's a zipper on the size so I can get in and out of the dress. And for the edges around the bodice I just faced them and used just a bit of glue to hold it down.

Photobucket 
 
The blouse we decided to just make from scratch, that way we could all have the same blouse. We used Simplicity 1941 and then adjusted the sleeves so that they were puff sleeves rather then the normal ones they have.

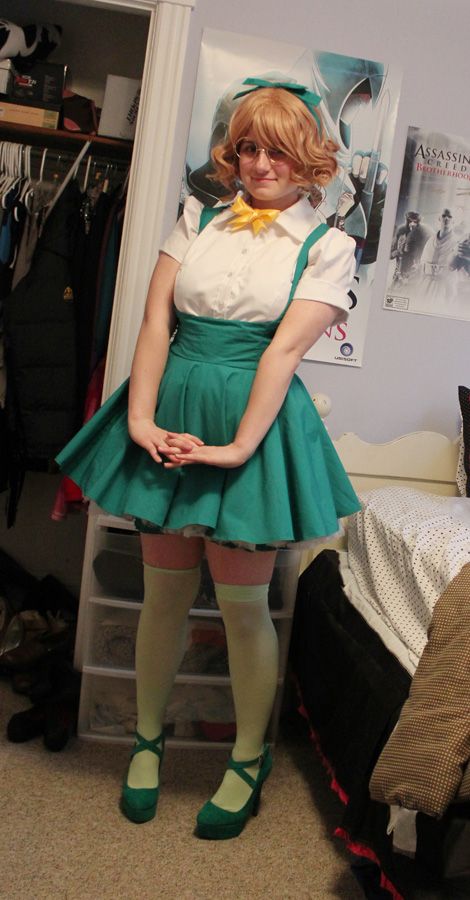
The shoes I had a bit of freedom on. Since you can't see her shoes I could pick whatever I wanted. But since I'm in actuality the shortest person in the group I needed something that would give me a bit of height. I found these really nice green heels that not only matched my dress perfectly but gave me just a bit of height so I could be taller then our Hikaru and match height with our Umi. The stockings come from We Love Colors. My only issue with them was that the fit was suuuuper tight, like almost impossible to keep up without rolling down. And it was the first time that sock glue didn't hold them up.

Photobucket 

The ribbon around my neck is just a plain satin ribbon we bought in a spool, so we all had matching ribbons and its pinned to the collar of the shirt. And the ribbon on my head was made from leftover fabric from the dress. All together it was actually a rather simple costume to make. The work was making sure we were all coordinated, getting the same type of fabric and patterns.

Photobucket