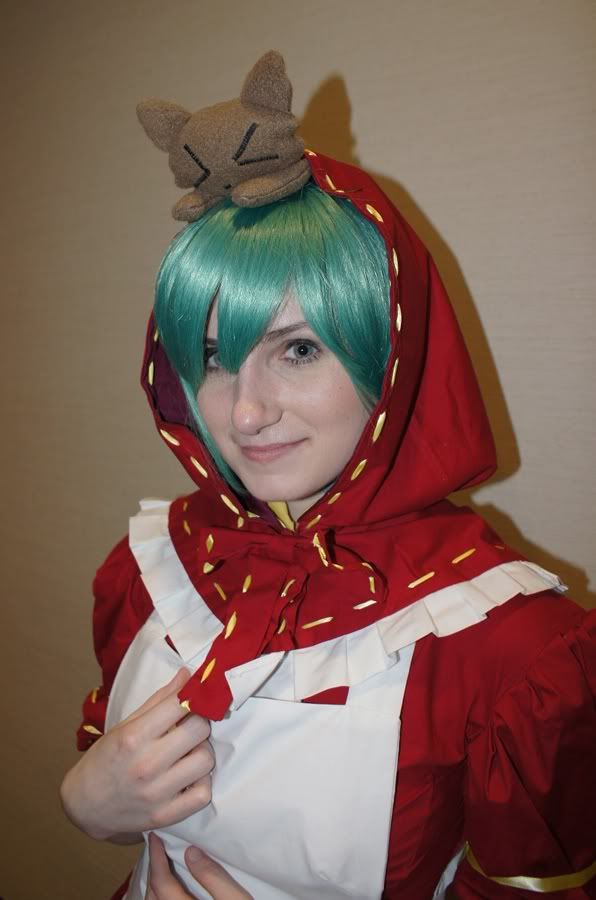
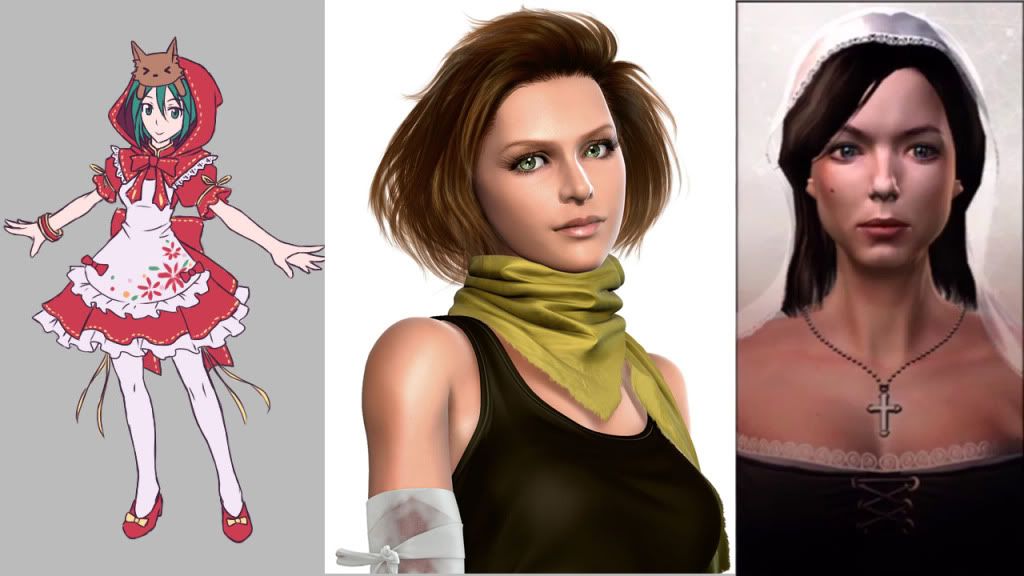
(I'm actually making the manga verson rather then the anime, so the color choices are different)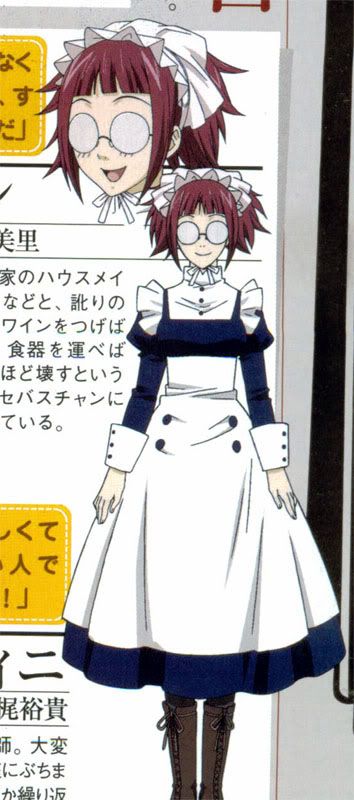
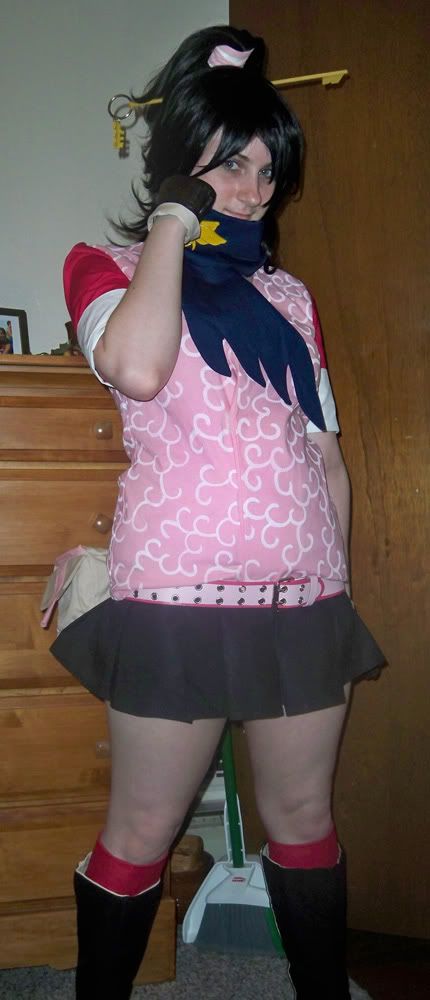
So to start this off I'll have quite a bit of progress to post with Maylene, since I got a lot done before I even made this blog. I'll just go through most of my progress shots and show the progression of the costume, of what I have up until this point.
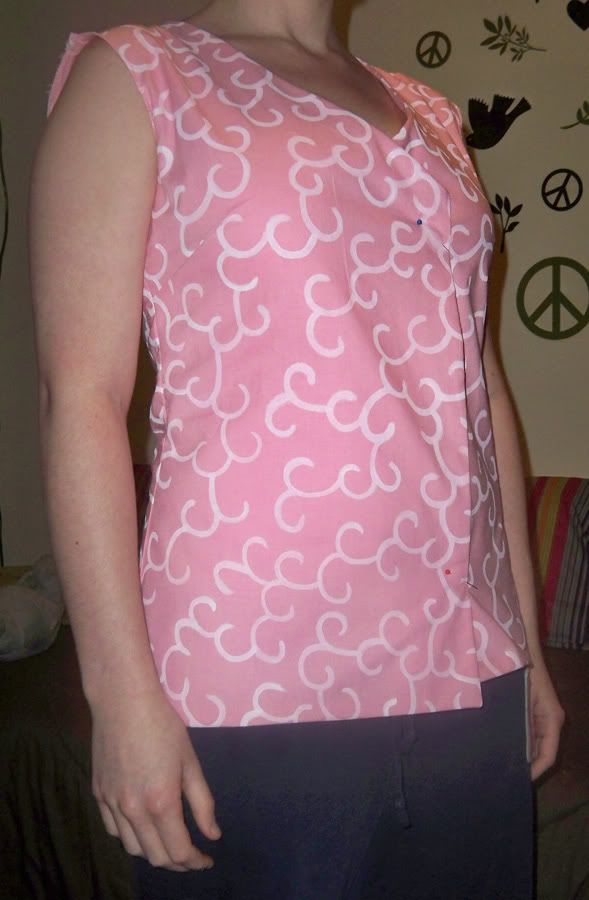
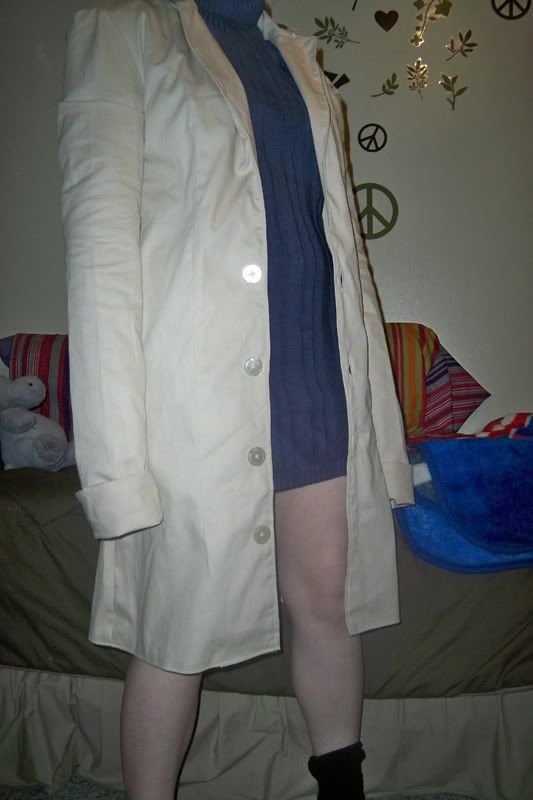
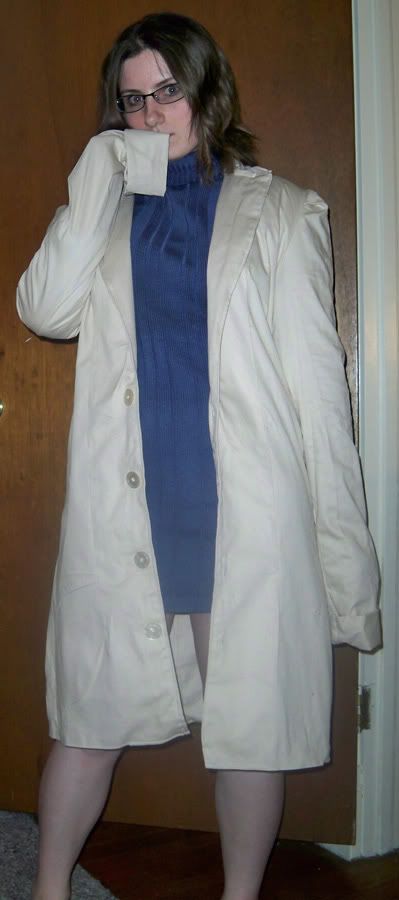
This costume was the first one I had to basically Frankenstein the patterns for. All of it is from previous patterns and were modified for this costume, which made it hell to figure out. I really should do something with practice before hand, before I cut into the fabric, but I really just didn't have the extra to do that. So it's always sort of measure and cut for me. Though that made this process a bit hellish unfortunately, making me have to go in and fix up previous mistakes over and over again. Sadly this was all made before I had some kind of body form to fit this to, so every time I did something, I had to stop, try it on and the fix whatever mistake I made.
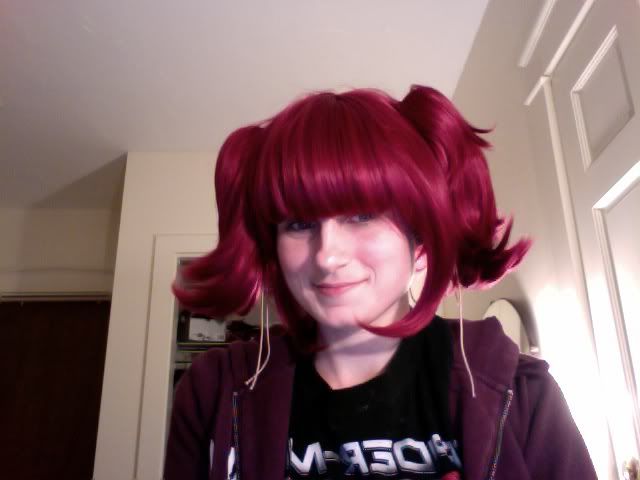
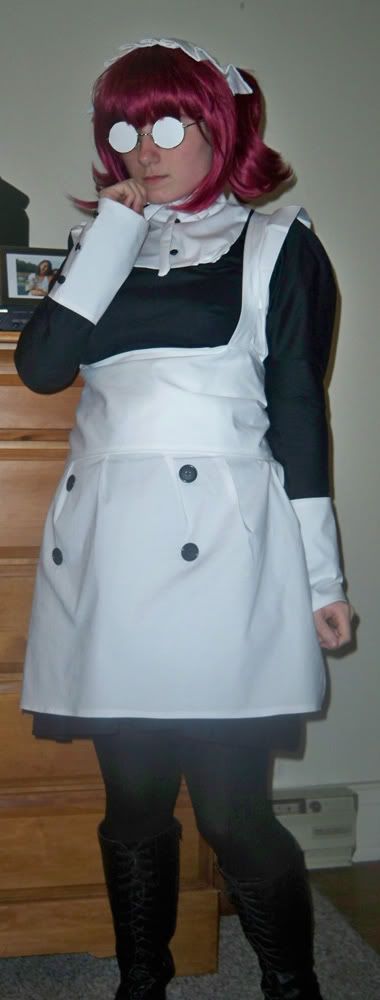
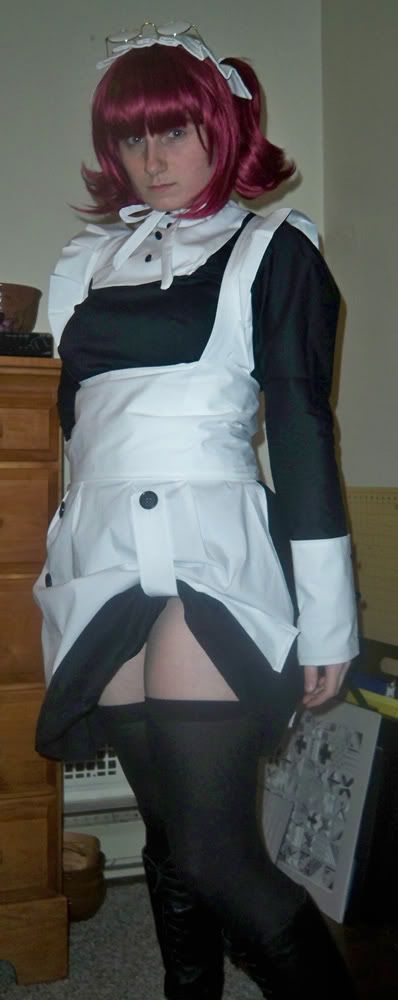
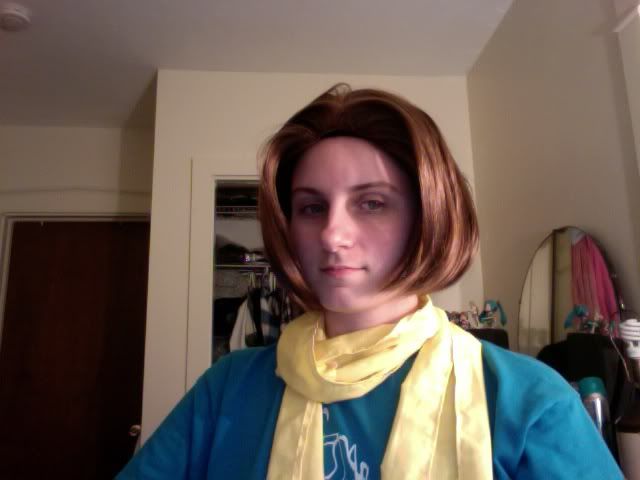
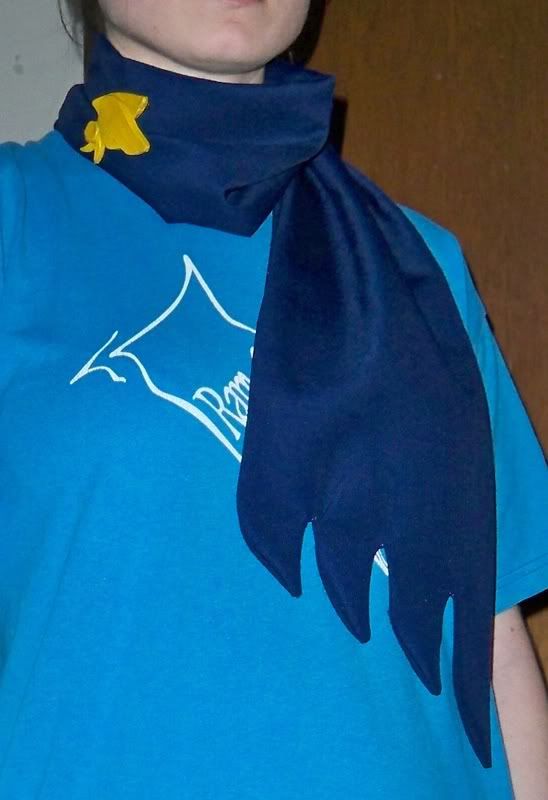
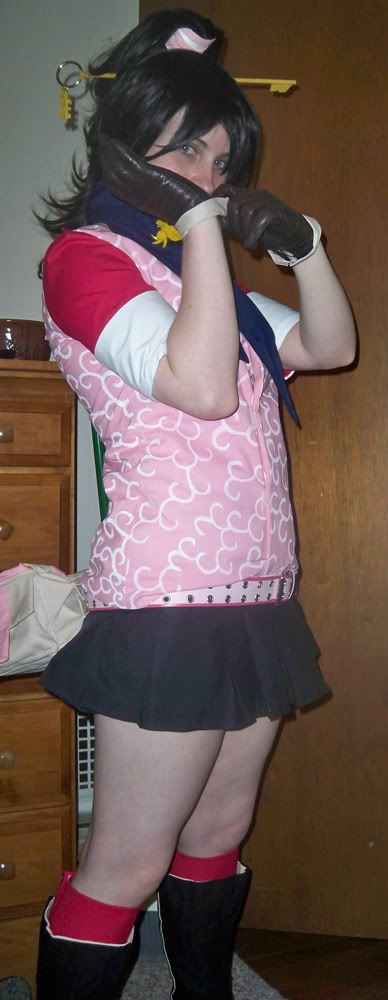
Usually I don't get into buying wigs until much later, but the wig was something that came and went. So I snatched it up before I even decided I was going to cosplay her or not. And god does the wig feel amazing. I left the strings for the pigtails there, lovely.
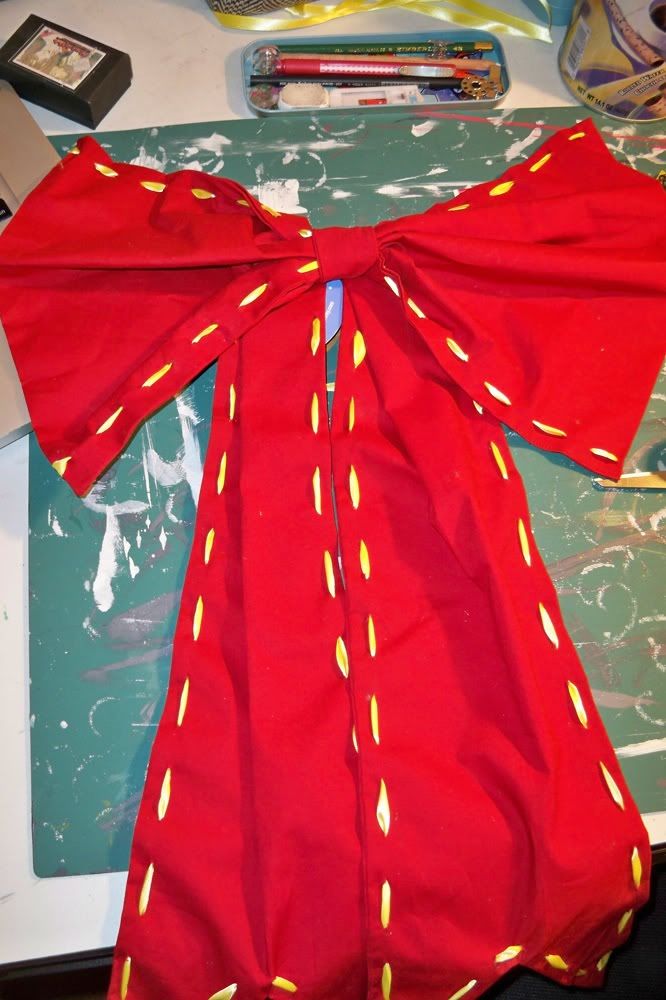
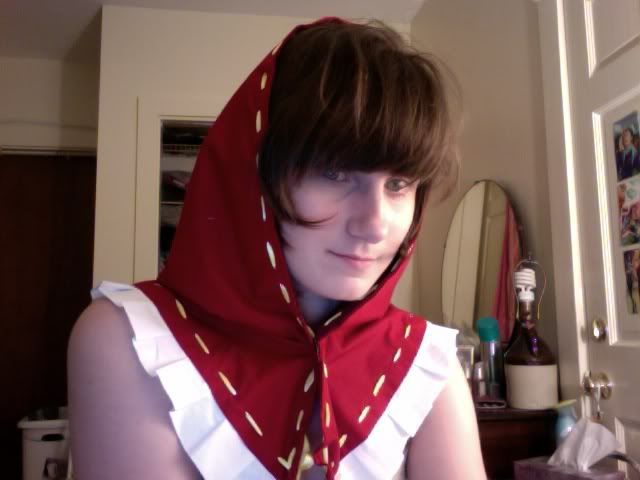
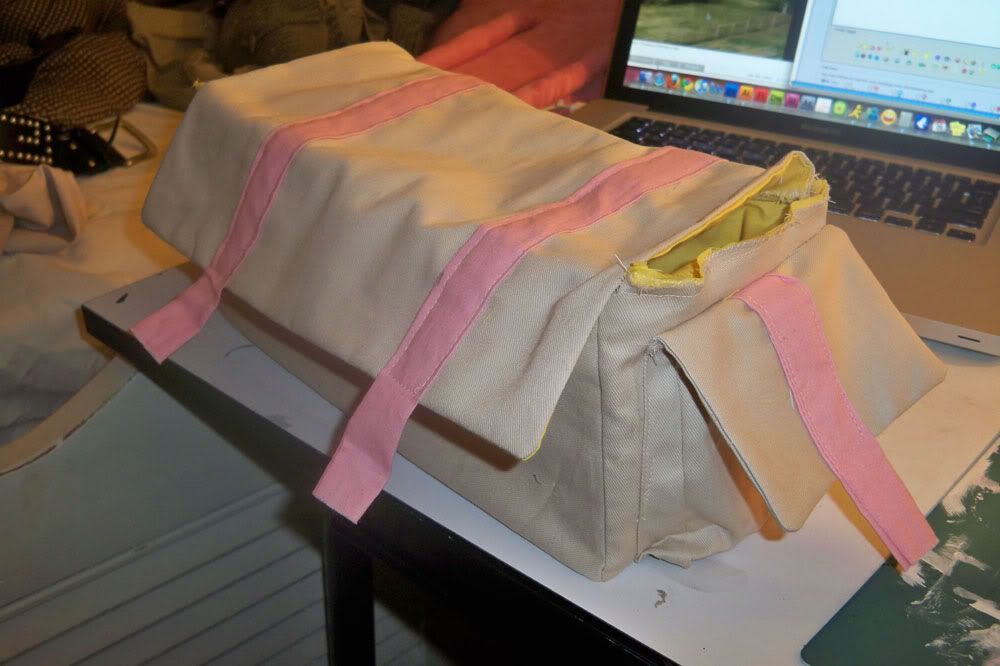
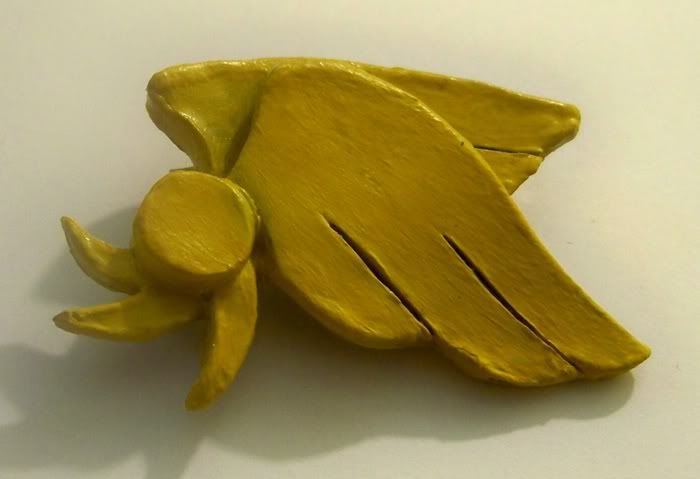
Before I had a chance to buy the fabric I ended up making the headdress out of leftover fabric I had laying around. Not really a major accomplishment of any kind, the headdress was easy enough to make. A lot of little stuff like this I never really make patterns out, I just sort of go with the flow and see what happens with it.
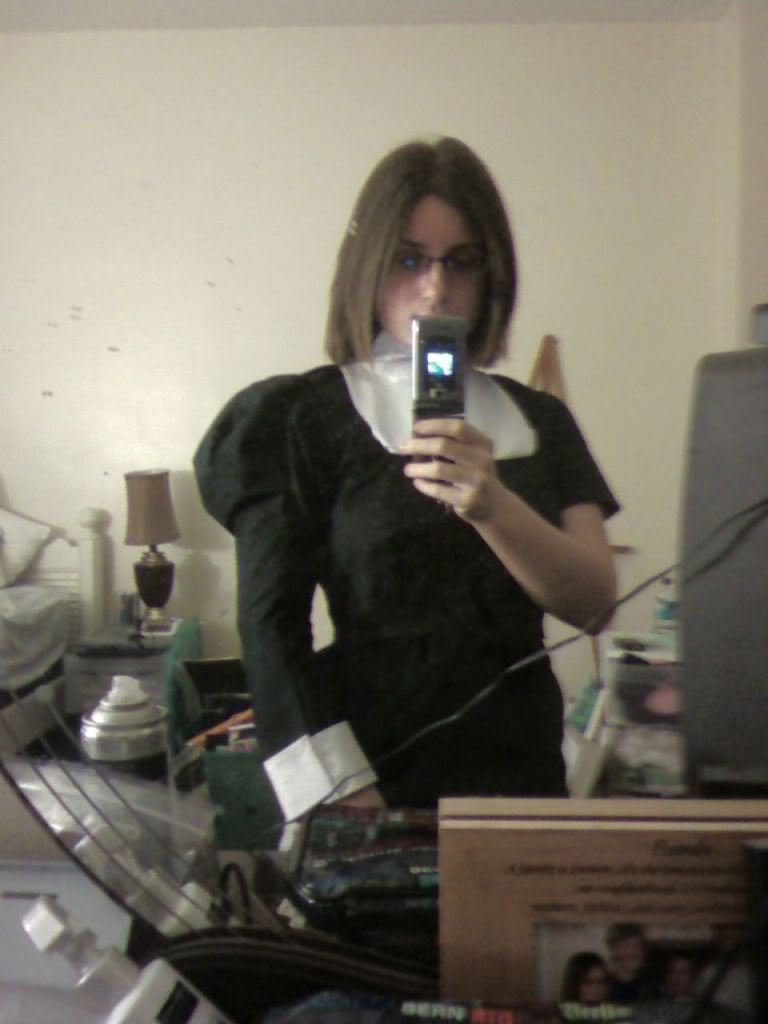
After I went out and got the fabric, I started doing the patterning. And god I thought that it would be an amazing ia to just Frankenstein without really putting the amount of thought into it that I needed to. Needed more measurements, needed more testing without wasting my good fabric. My first attempt at the sleeve seemed alright. From the terrible cellphone photo you can see it seems alright. But really it was rather terrible looking. It didn't sit right at all, it was way too big, etc, etc. So I ended up scrapping it and remaking the sleeve entirely. From there, it was touch and go. Really I'm not completely satisfied with it. There are parts I really want to fix and remake entirely, though I'm kind of at the point where I don't even want to touch the costume anymore.
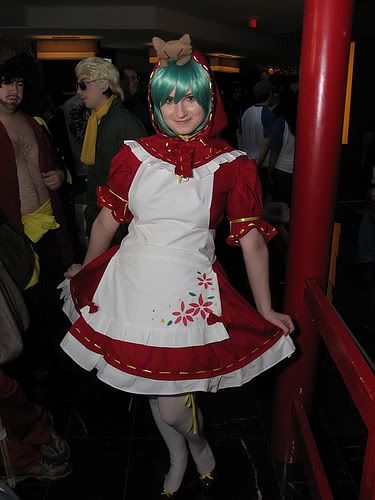
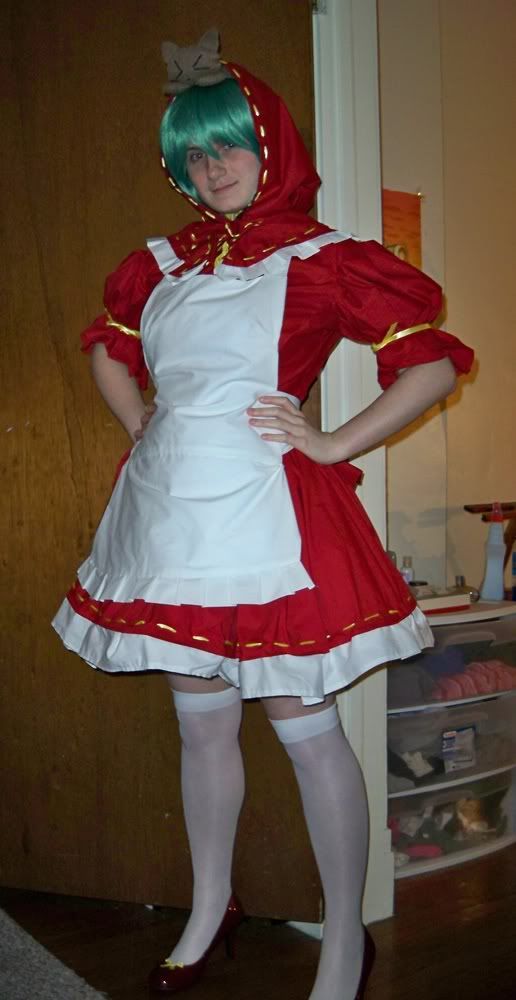
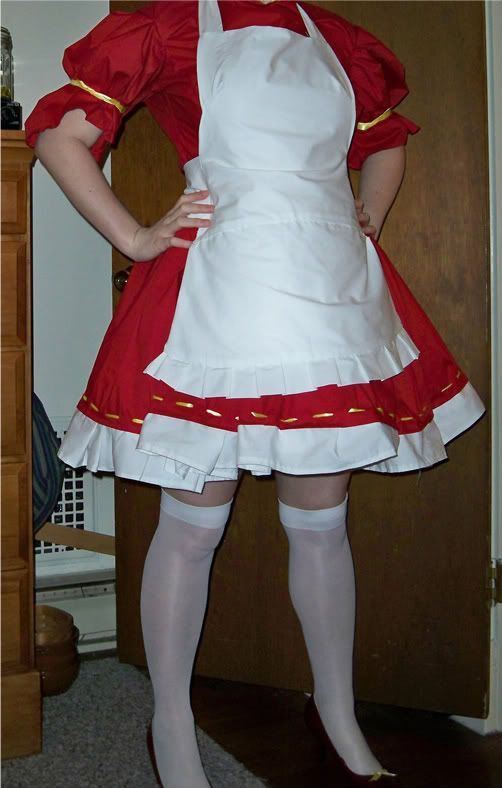
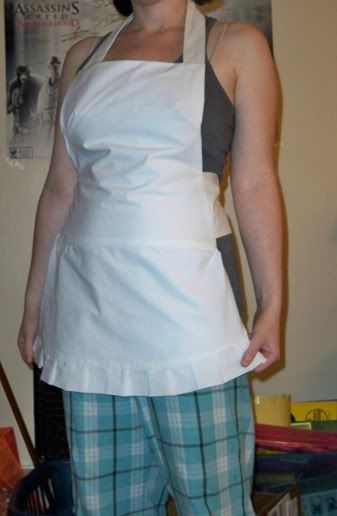
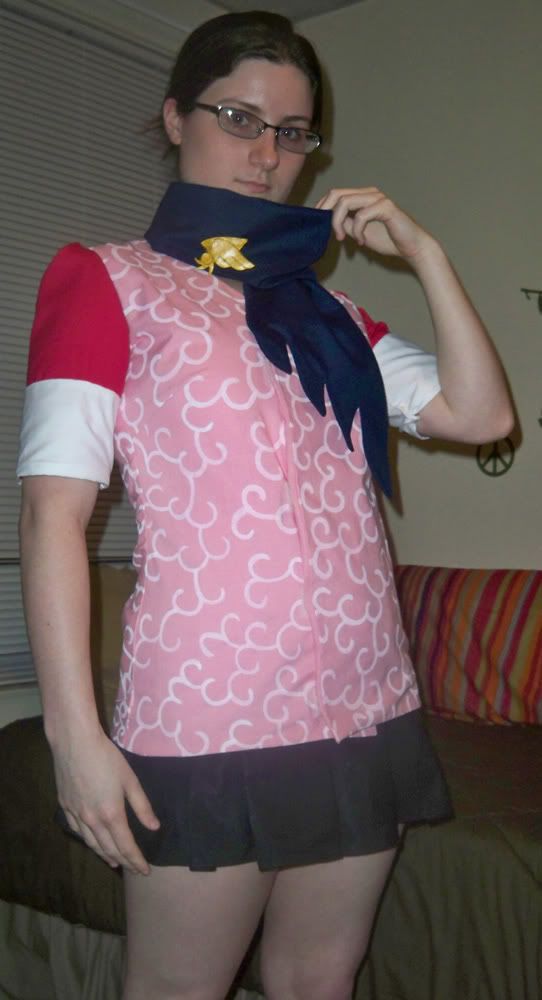
The best part of the whole costume was the apron. Honestly I'm starting to love making aprons. This is probably my second or third one? Something about maids I swear...but the apron was so easy to make and feels rather lovely.
Both the shoes and glasses were found items, the shoes from Forever21 and the glasses from a local vintage store. You'd be surprised how hard it is to find large round glasses. I lucked out with these and popped out the lenses. The white part is just Bristol paper that I can just pop out and remove.
I think the last thing I'd really want for this costume is a prop. Most of my costumes don't have a prop, but when the switch happens I think a prop would really help. Though I can't find anywhere that sells a toy rifle. And I really don't have the prop skills in making one. Oh well, I'll probably have to pose without it.
ProgressApron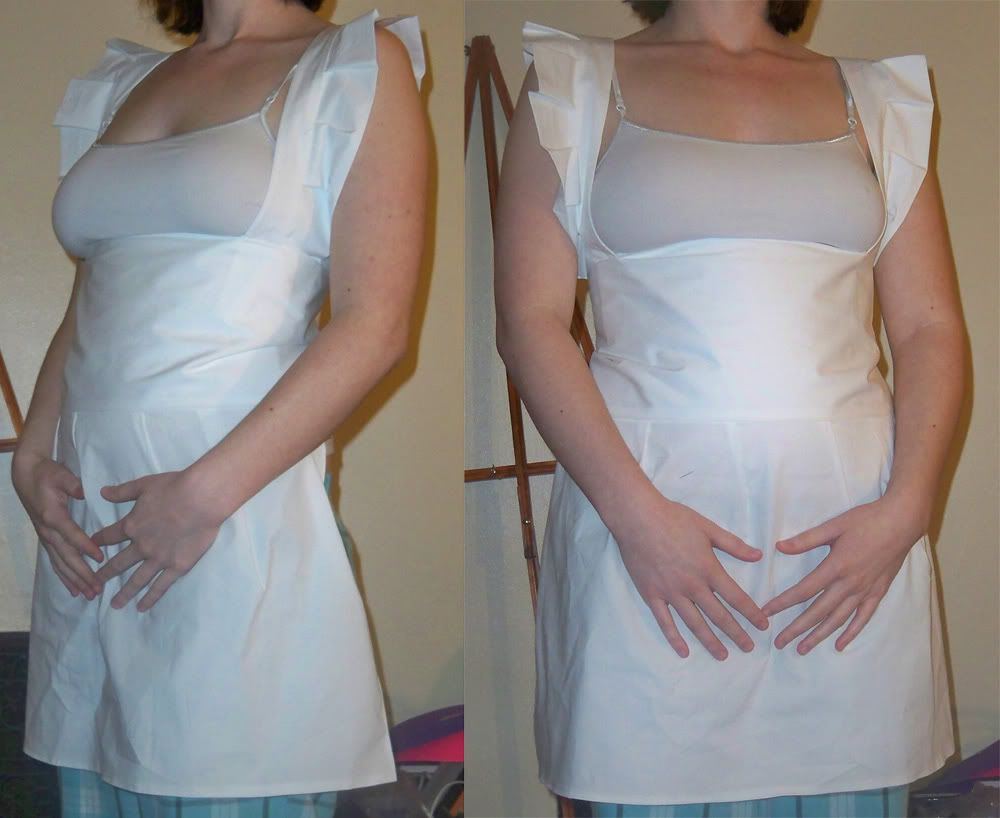 Dress
Dress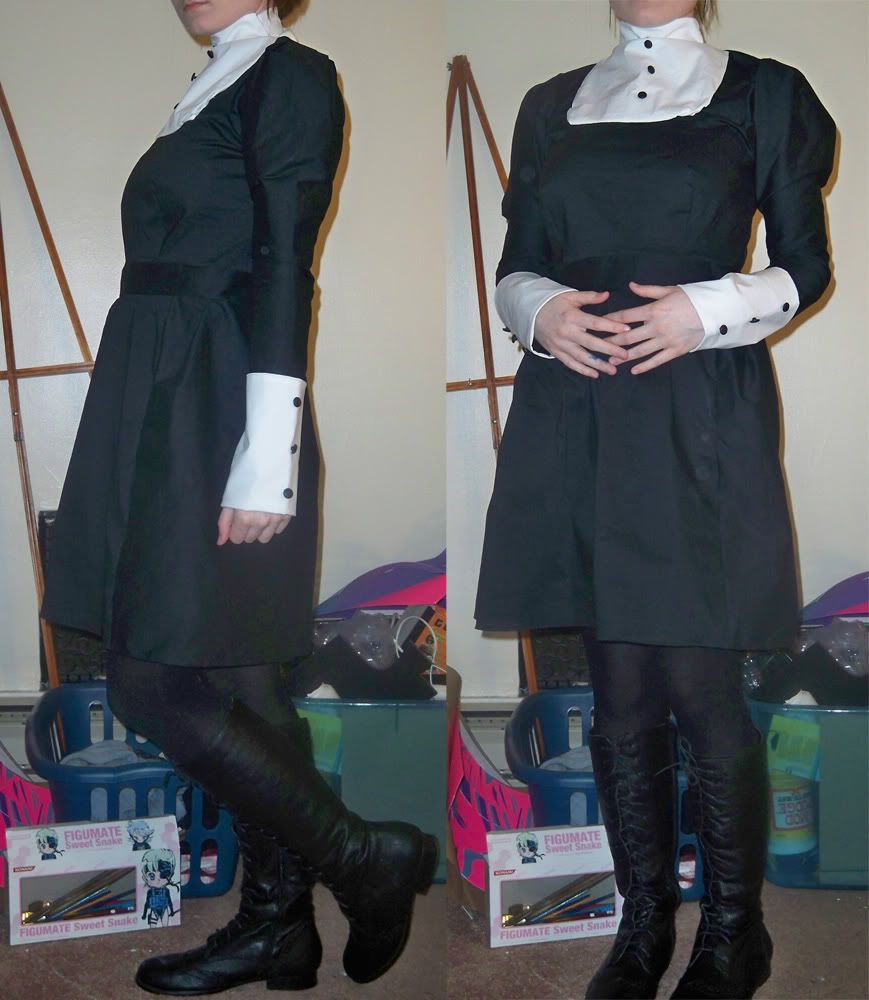 Dress + Apron
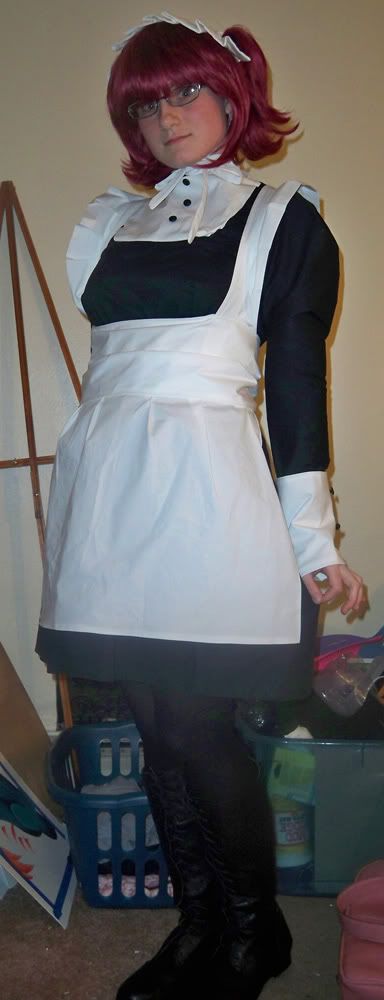 Finished