
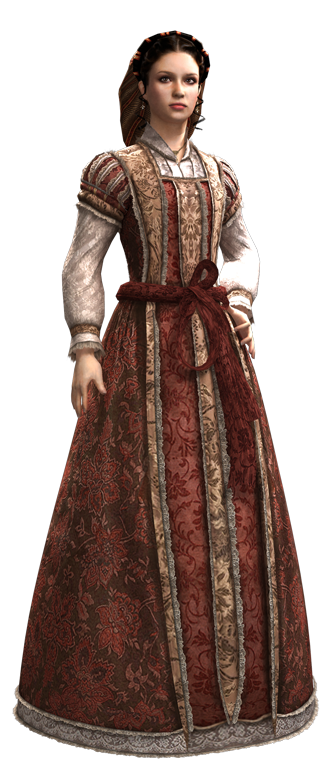
I wanted to cosplay Claudia after I saw her in Brotherhood, she was fine in AC2 but she became SO much better in Brotherhood. I was a bit anxious to start on that dress that she wears, I really never made anything like that before. But then I saw her new outfit near the end of the game...and fell in love. She got really bad ass and started fighting alongside her brother at the end sequence. I think I loved her character as soon as she stabbed those guards early one and took on a brothel herself just to help the brotherhood.
What was interesting about this outfit is how it was based off of Maria Thorpe's outfit from Bloodlines and the end of AC2.

Pretty interesting, just a few minor changes, obviously the color, choice of fabrics and the boots are pretty different. But overall the design is still the same and references her outfit.
The first part was her tunic. The tunic was based off of dress pattern I had laying around, the same dress pattern I used for Trucy. The pattern had to be modified a bit, because the top part was separate from the bottom, but it had the same panels I needed for her tunic. The panels go between a brocade and a satin. And in between there's bias made from the satin.
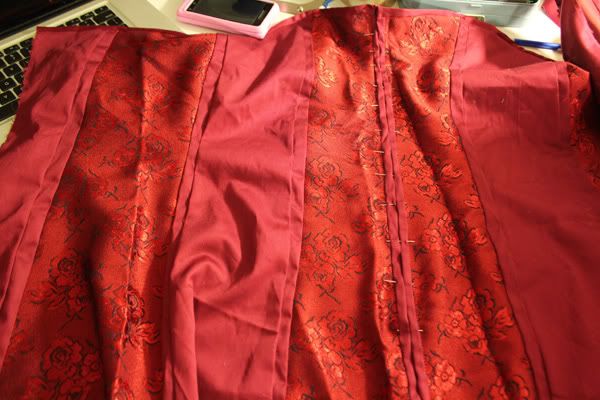
The front was probably supposed to come together with hooks or latches, but I went with ease for myself, not entierly period accurate but I'm wearing a cape so that little detail wouldn't be noticed. I added a zipper in the back and the front is sewn together with a ladder stitch, to give it that look that her tunic had. The inside is lined with a super light lining material. It's pretty near sheer, but the point was to keep the brocade from fraying. The brocade frays SO easily, I sort of wish I had fray check to keep it from being so annoying. I did end up using a zigzag stitch on my machine to help it, but it goes to show that a serger would really help. But you make do with what you have! And a zigzag stitch is a decent substitute if you can't afford a serger.
The shirt part was based of a blouse pattern I had laying around, but it's not a full blouse. I made it enough to where it met the tunic and then sewed them together. I mostly did it to avoid the amount of layers I had to wear, because I knew how hot I'd be in the costume. There's still the cape I had to wear.
The cape itself was drafted from my own patterns. I had a hood pattern laying around that I modified and used, the caplet parts were part drafted on my own and the rest I found something I could modify. I lucked out and had JUST enough fabric to make the actual cape part and line it. That wasn't too difficult, the difficult part was to use the bias around the caplets.
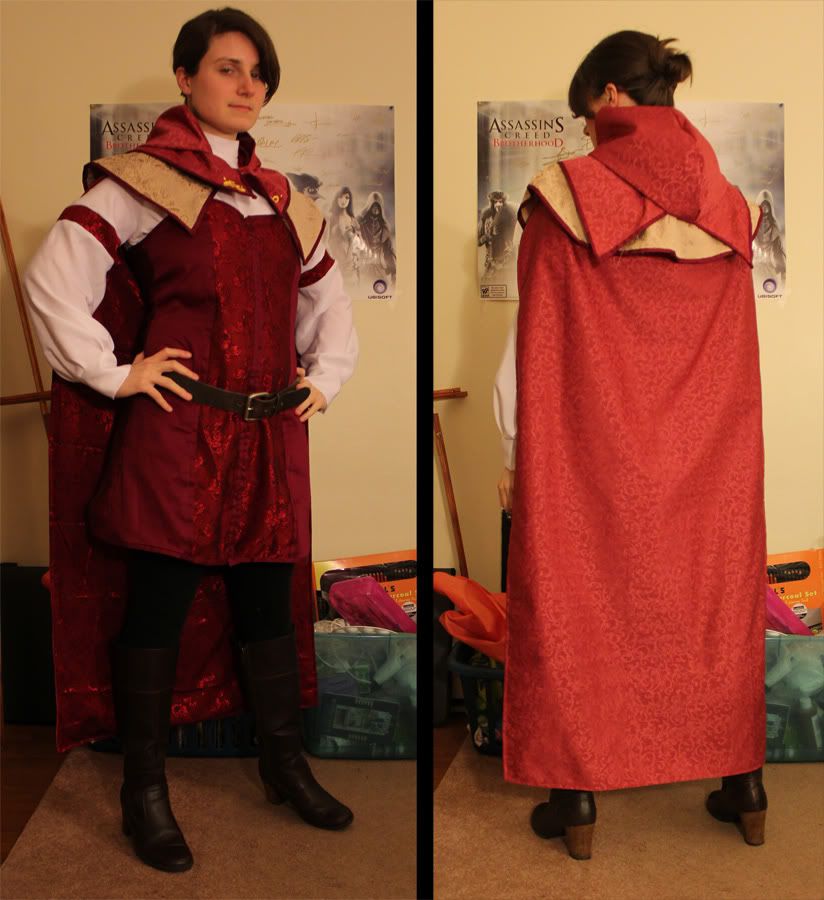
Bias itself is never too bad, it's the corners that can get you. I had never sew corners before.I found this amazing tutorial online on how to do it, and it really helped out a lot. What is missing and what I still haven't done is the design she has painted on the back of her cape. I still really need to get around to doing that.
The rest are bought. I was able to use my own hair for her since she just has it pulled back. The boots, bracers and belt are all bought and thanks to a friend I had a small knife to carry!
Finished


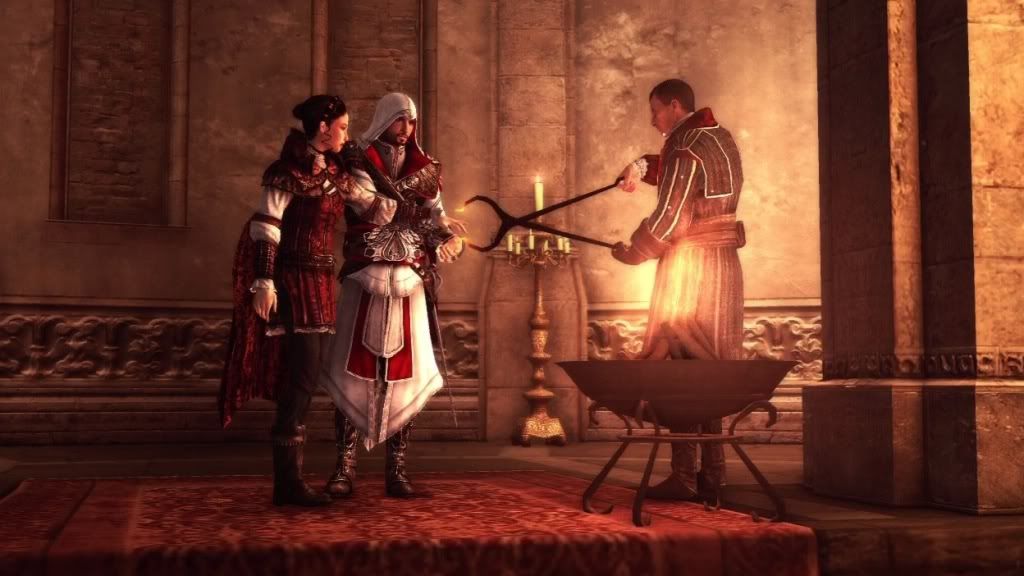
Also thanks to this Ezio for posing with me! He was fantastic.
With the finished photos from the test run I really need to fix up a few minor details. But overall I'm pretty happy with how it turned out and I'm even more excited to wear it to Otakon!
No comments:
Post a Comment